A Servo's Self-Improvement
How to modify a servo into a 360° continuous rotation servo and address noise issues with code?
Background
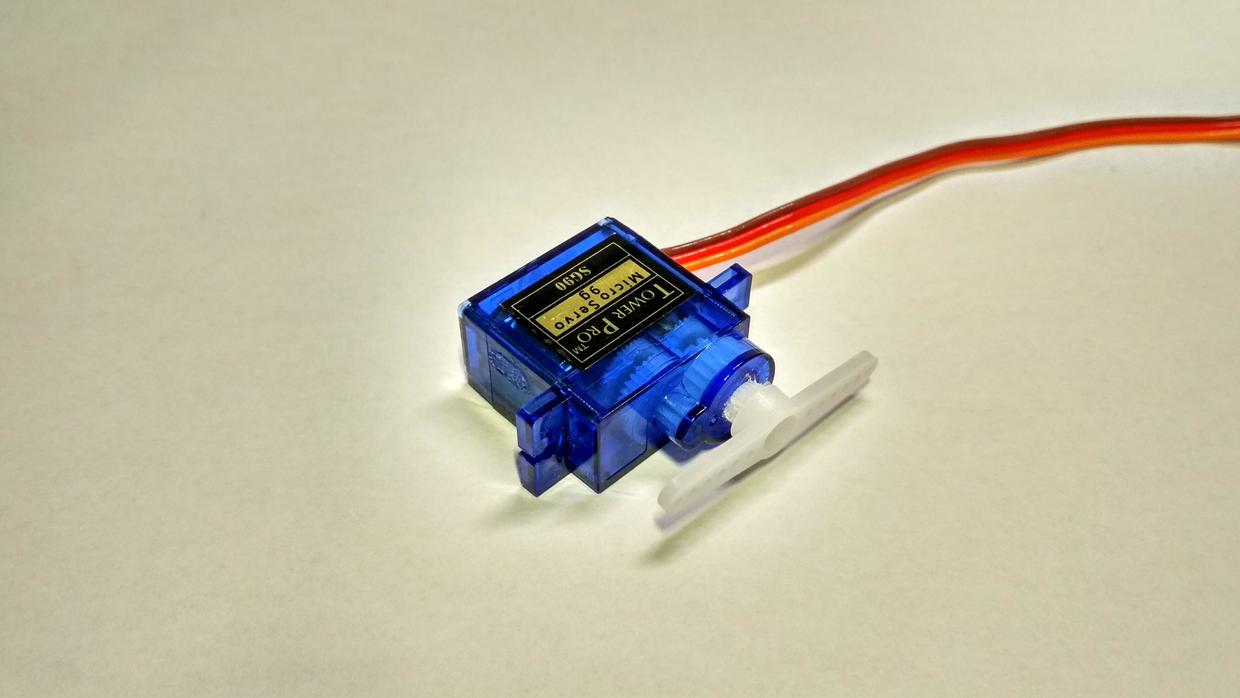
Generally, servos can only rotate 180° (although continuous rotation servos are available online, they tend to be more expensive). If you want to use a servo as a drive mechanism for a small car, you can convert it into a continuous rotation servo.
Modifying the 360° Servo
1. Preparation
Tools required:
- Screwdriver
- Hot glue gun
- Needle-nose pliers
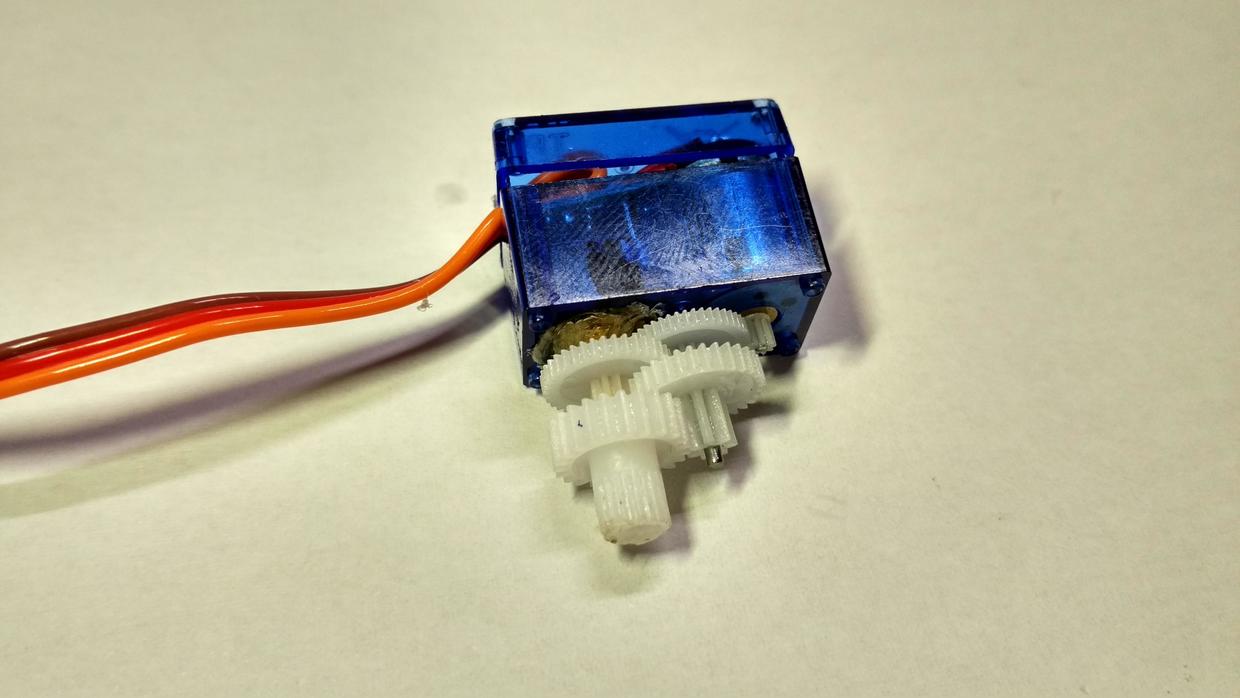
2. Disassembling the Servo
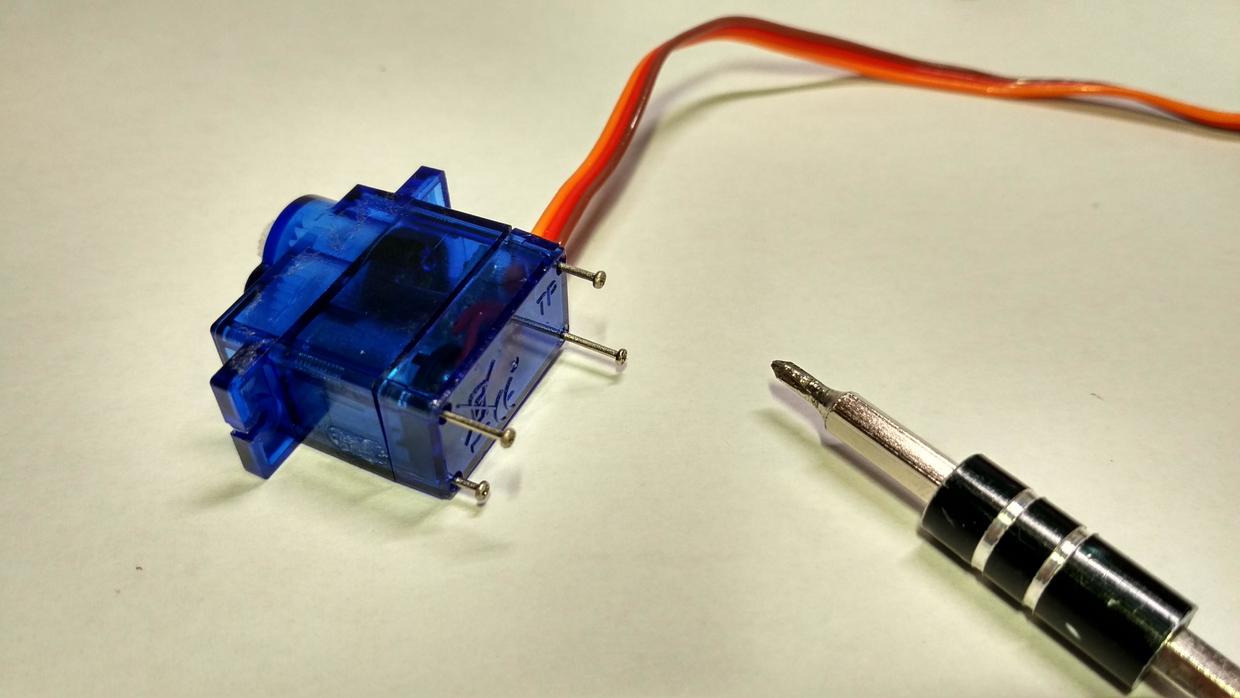
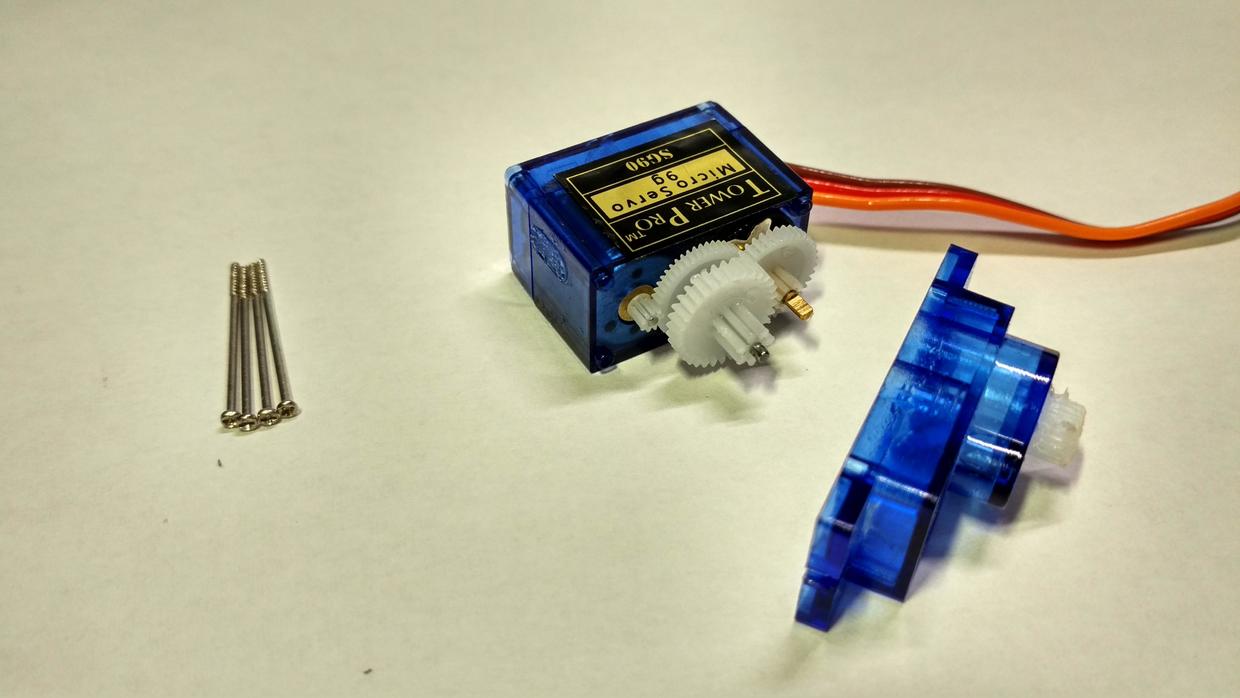
Note the position of each gear.

3. Modifying the Gear
Select the largest gear and trim away any protruding parts with needle-nose pliers. 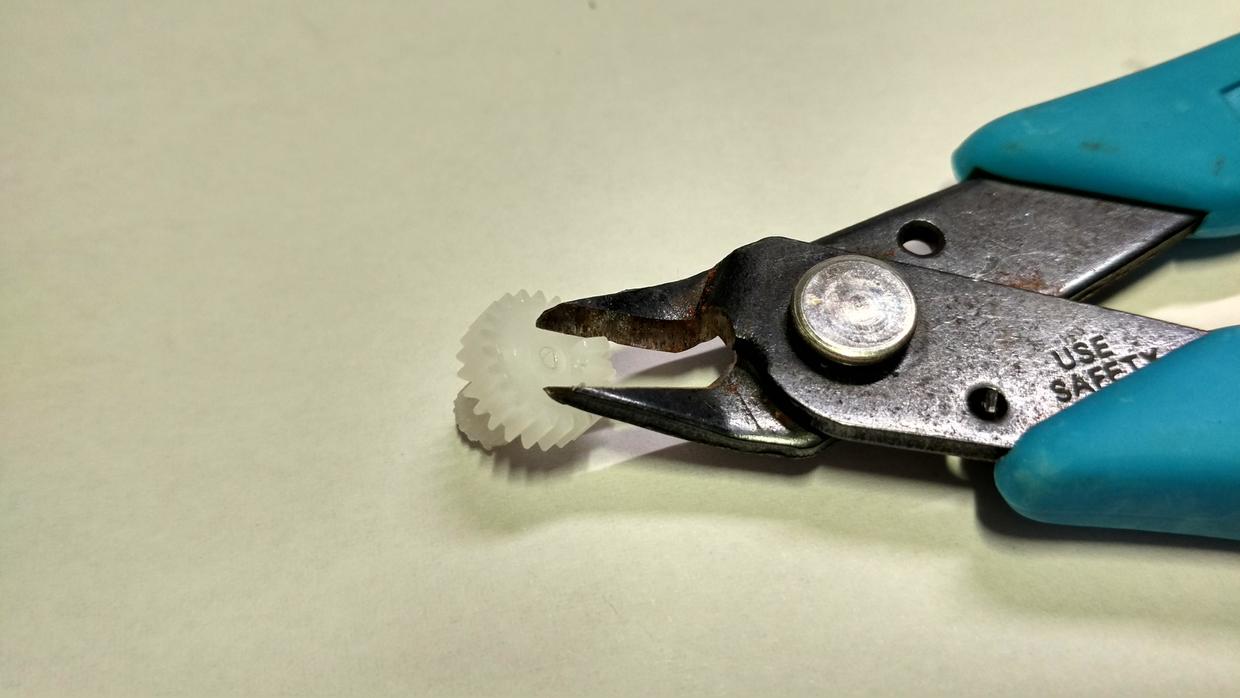
Use a screwdriver with a slightly larger diameter than the shaft to enlarge the gear's inner diameter so that it can freely rotate on the shaft. 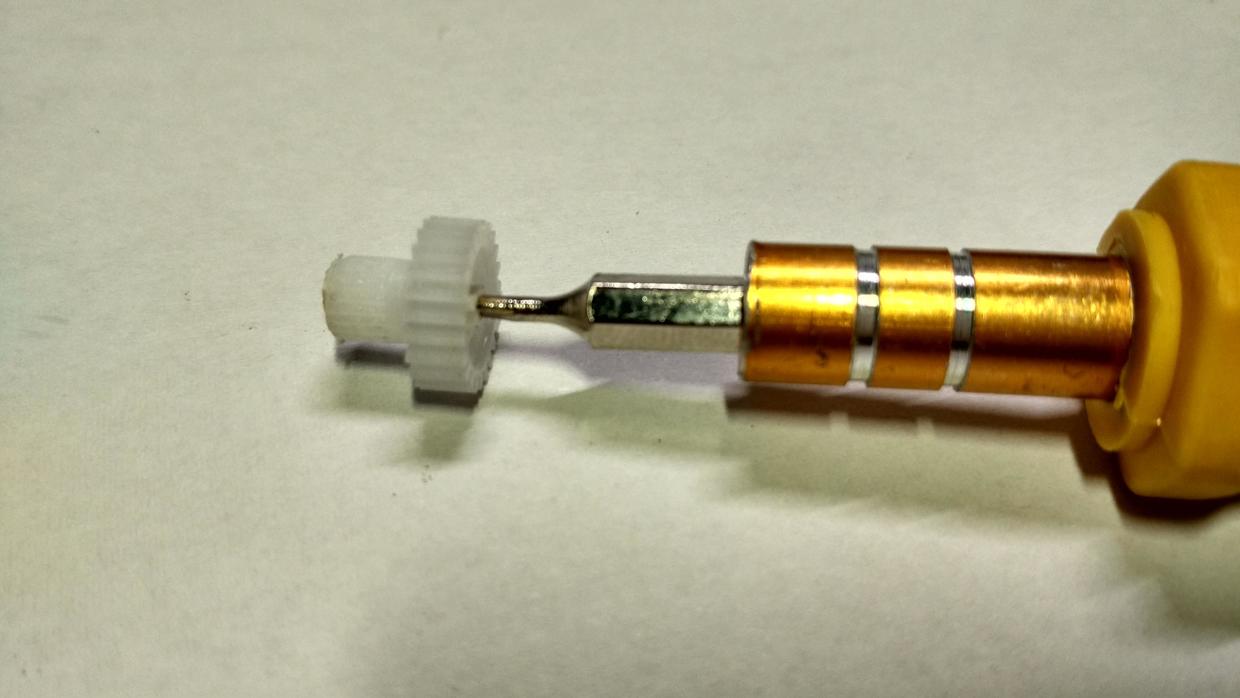
4. Sealing the Potentiometer
Before proceeding with this step, the servo must be returned to its center position.
Using an Arduino board, upload a program to make the servo return to its center position:
// by Lin
#include <Servo.h>
Servo myservo;
void setup() {
  myservo.attach(9); // Servo connected to Arduino's D9
}

void loop() {
  myservo.write(90); // Return the servo to its center position
}
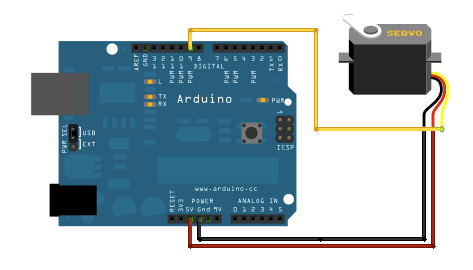
Once connected, you'll notice the servo continuously rotating.
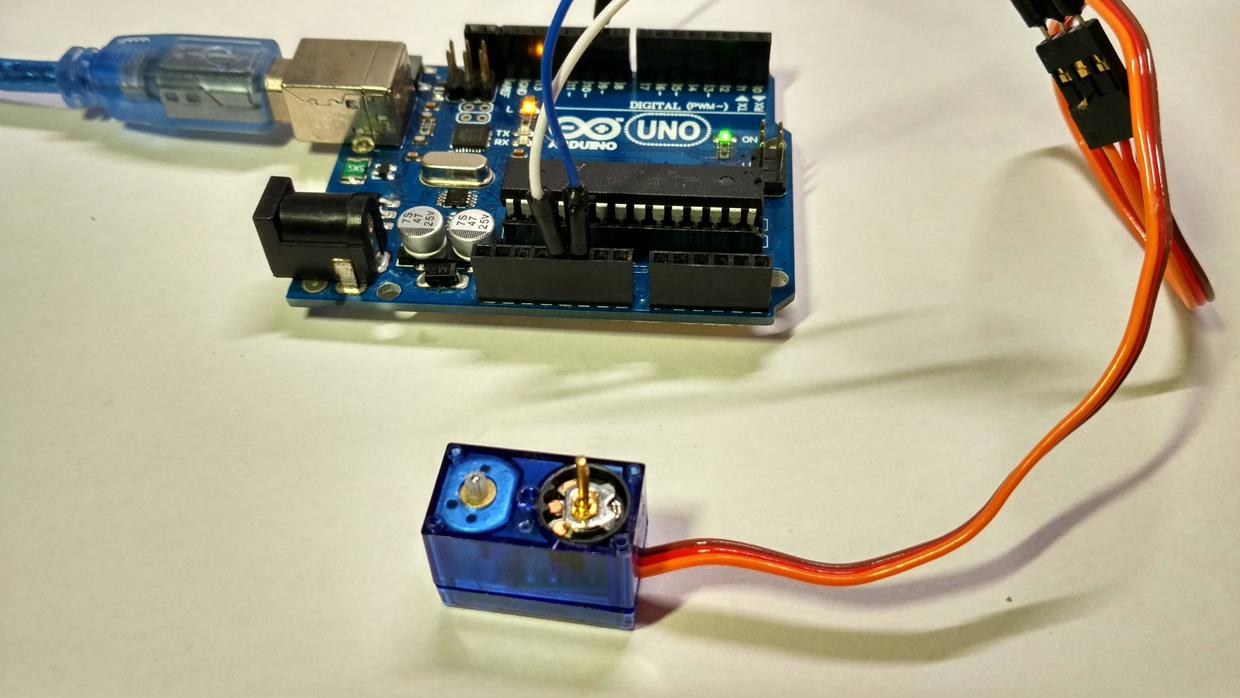
Turn the right side shaft back and forth several times to find a position that stops the motor (adjust the potentiometer to the middle value). 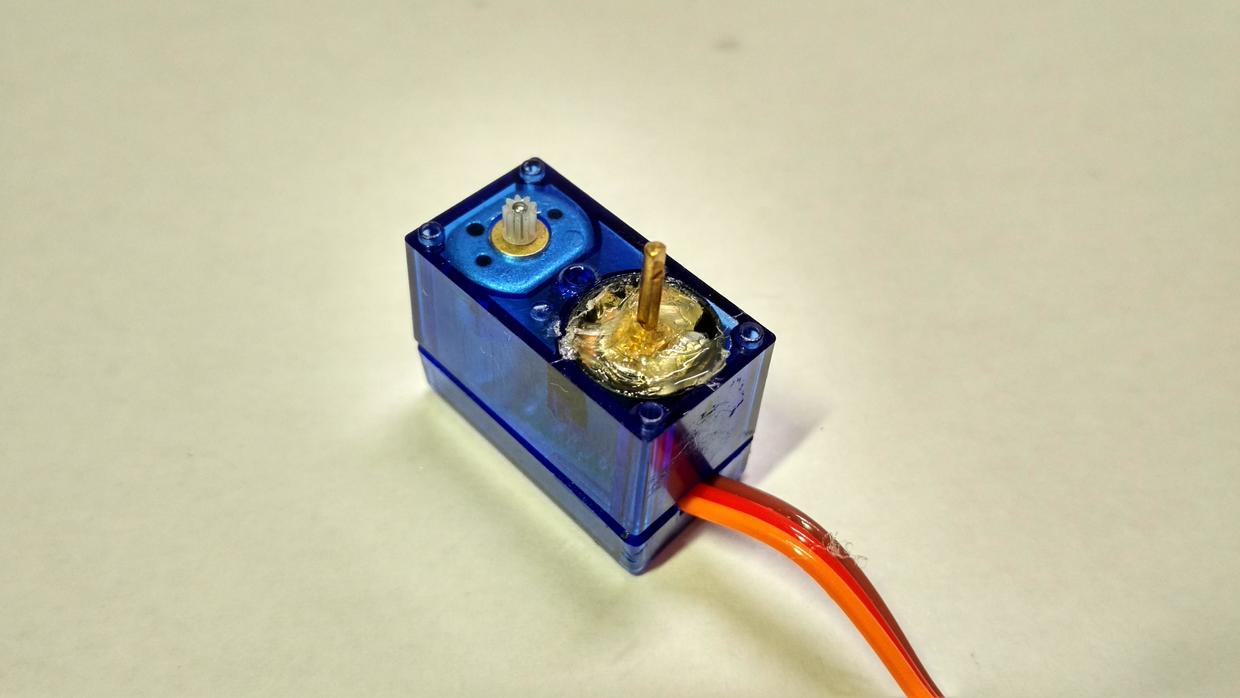
Apply glue to the potentiometer to seal it. Be careful not to accidentally rotate the shaft at this point; if you do, you'll need to return to step three.
5. Assembly
Reassemble the gears, ensuring the correct gear positions. Tighten the screws, and you'll have a 360° continuous rotation servo.
6. Calibration
Upload the following code:
Your 360° continuous rotation servo is now ready for use.
Conclusion
By following these steps, you can transform a standard servo into a 360° continuous rotation servo and eliminate noise issues using simple code adjustments. Enjoy your enhanced servo's improved performance.
#include <Servo.h>
Servo myservo;
int pos = 0;
void setup() {
  myservo.attach(9);
}
void loop() {
  for (pos = 0; pos <= 180; pos += 1) {
    // En incrementos de 1 grado
    myservo.write(pos);
    delay(15);
  }
  for (pos = 180; pos >= 0; pos -= 1) {
    myservo.write(pos);
    delay(15);
  }
}
Estado del Servo: Aceleración del servo - Desaceleración - Aceleración en dirección opuesta - Desaceleración...
Eliminación del Ruido
Contexto
Al usar un servo para crear dispositivos IoT, a menudo nos encontramos con la molestia de que el servo llega a la posición deseada pero sigue haciendo ruido. Para resolver este problema, @张世博 ideó un método: conectar un relé en la línea de suministro del servo y apagar el relé cuando no se necesita que el servo se mueva. Sin embargo, este enfoque aumenta los costos de hardware y agrega complejidad al código.
Solución
Cuando se necesita que el servo funcione, utiliza la función attach(), y después de que el servo haya completado su tarea, utiliza detach().
{
    servo.attach(9);
    servo.write(pos);
    delay(250);

    // Desconecta el servo para evitar ruidos
    servo.detach();
}
Preguntas Frecuentes
P: ¿Y si tengo un servo de metal con una estructura diferente? ¿Cómo puedo adaptarlo?
R: Puedes consultar el artículo Convertir un Servo en Rotación Continua para obtener más información.
Referencias y Agradecimientos
- Más formas de usar servos
- Método simple para eliminar el ruido del servo mediante software
- Guía para Principiantes: Conocimientos Básicos sobre Servos
Dirección original del artículo: https://wiki-power.com/
Este artículo está protegido por la licencia CC BY-NC-SA 4.0. Si desea reproducirlo, por favor indique la fuente.