Homelab - High-Quality Image Compression Tool TinyPNG-docker
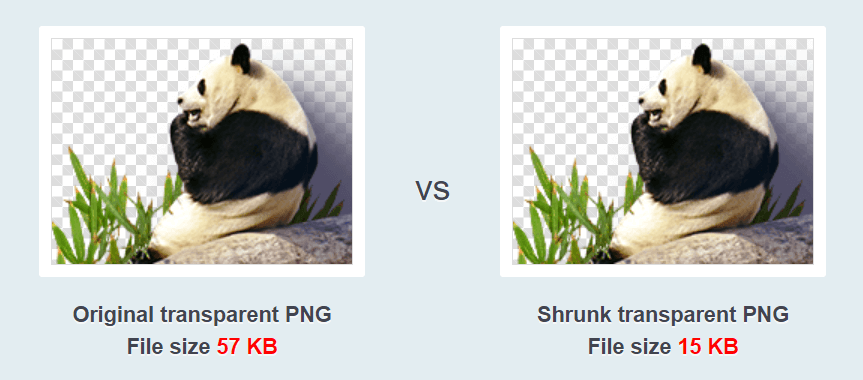
TinyPNG-docker is a tool that uses the TinyPNG API to compress images with high quality. It can automatically compress WEBP, JPEG, and PNG images in the specified path and output them to the desired path. It effectively reduces website bandwidth usage, traffic, and loading time. By the way, this is a Docker application I developed with the help of ChatGPT.
Deployment (Docker Compose)
First, create compose.yaml and replace ${DIR} with your local directory (e.g., /DATA/AppData); replace ${API} with your own TinyPNG API key:
version: "3"
services:
  tinypng-docker:
    image: linyuxuanlin/tinypng-docker
    environment:
      - TINYPNG_API_KEY=${API}
      - INPUT_DIR=/app/input
      - OUTPUT_DIR=/app/output
    volumes:
      - ${DIR}/tinypng-docker/input:/app/input
      - ${DIR}/tinypng-docker/output:/app/output
Configuration Instructions
Before using this Docker container, you need to register an account on the TinyPNG website and apply for an API key.
The usage is simple. Paste the images you want to compress into the ${DIR}/tinypng/input folder, and you will find the compressed images in the ${DIR}/tinypng/output folder.
If the container cannot be used properly, you can troubleshoot using the following methods:
- Make sure the
inputandoutputfolder paths specified in thecompose.yamlfile are correct. - Check your TinyPNG account to see if you have reached the maximum compression limit allowed by the API key.
- Check if the
inputfolder contains image files in the correct format (WebP, PNG, JPEG). Note that this container only detects and compresses files with thecreatedevent, so if the file already exists, you need to manually move it to theinputdirectory. - Check if the compressed images have a higher level of distortion than the compression settings of the API, which may cause API decoding failure (e.g., if the original image has already been compressed).
- Try using the API compression tool provided by tinify's official website manually, upload the compressed images to further identify the problem, and you can output debugging information in the console to locate the problem.
Docker Image Development Process
Preparation
-
If you haven't registered a Docker Hub account yet, you need to create one on Docker Hub.
-
Log in to Docker Hub:
Enter your username and password as prompted to log in to Docker Hub.
Create the Container
Create a Dockerfile:
FROM python:3.8-slim-buster

RUN pip install tinify watchdog

WORKDIR /app

COPY . /app

ENV TINYPNG_API_KEY=<your_tinypng_api_key>
ENV INPUT_DIR=/app/input
ENV OUTPUT_DIR=/app/output

CMD ["python", "main.py"]
Create main.py in the same path:
import tinify
import os
import time
import sys
from watchdog.observers import Observer
from watchdog.events import FileSystemEventHandler

class MyHandler(FileSystemEventHandler):
    def on_created(self, event):
        if event.is_directory:
            return None
        elif event.event_type == 'created':
            print("Received created event - %s." % event.src_path)
            source_path = event.src_path
            output_path = os.path.join(os.environ['OUTPUT_DIR'], os.path.basename(source_path))
            compress_image(source_path, output_path)

def compress_image(source_path, output_path):
    tinify.key = os.environ['TINYPNG_API_KEY']
    source = tinify.from_file(source_path)
    source.to_file(output_path)
    print(f"{source_path} compressed and saved to {output_path}")

if __name__ == "__main__":
    print("Watching for new images...")
    event_handler = MyHandler()
    observer = Observer()
    observer.schedule(event_handler, path=os.environ['INPUT_DIR'], recursive=False)
    observer.start()
    try:
        while True:
            time.sleep(1)
    except KeyboardInterrupt:
        observer.stop()
    observer.join()
First, the necessary Python libraries are imported: tinify, os, time, sys, and watchdog. Then, a class named MyHandler is defined, which inherits from watchdog.events.FileSystemEventHandler. This class includes an on_created method, which is called when a new file is created in the specified folder. The on_created function retrieves the path of the source image and compresses it to the specified output path. Finally, the script starts monitoring the input folder, and whenever a new file is created in the specified folder, it automatically performs the compression operation and outputs the compressed image to the specified output folder.
Building the Container
To build the container, execute the following command in the same directory as the Dockerfile:
Here, tinypng-docker is the name of the image to be built, and . is the path where the Dockerfile is located.
Tagging the Image
Use the following command to tag the image:
For example:
Pushing Image to Docker Hub
Use the following command to upload the image to Docker Hub:
For example:
Pulling Image
Once the upload is complete, others can pull the image using the following command:
References and Acknowledgements
Original: https://wiki-power.com/
This post is protected by CC BY-NC-SA 4.0 agreement, should be reproduced with attribution.This post is translated using ChatGPT, please feedback if any omissions.