Setting up a Cloud Print Server with Raspberry Pi
Set up a cloud print server with Raspberry Pi to enable wireless printing with a regular printer.
Background
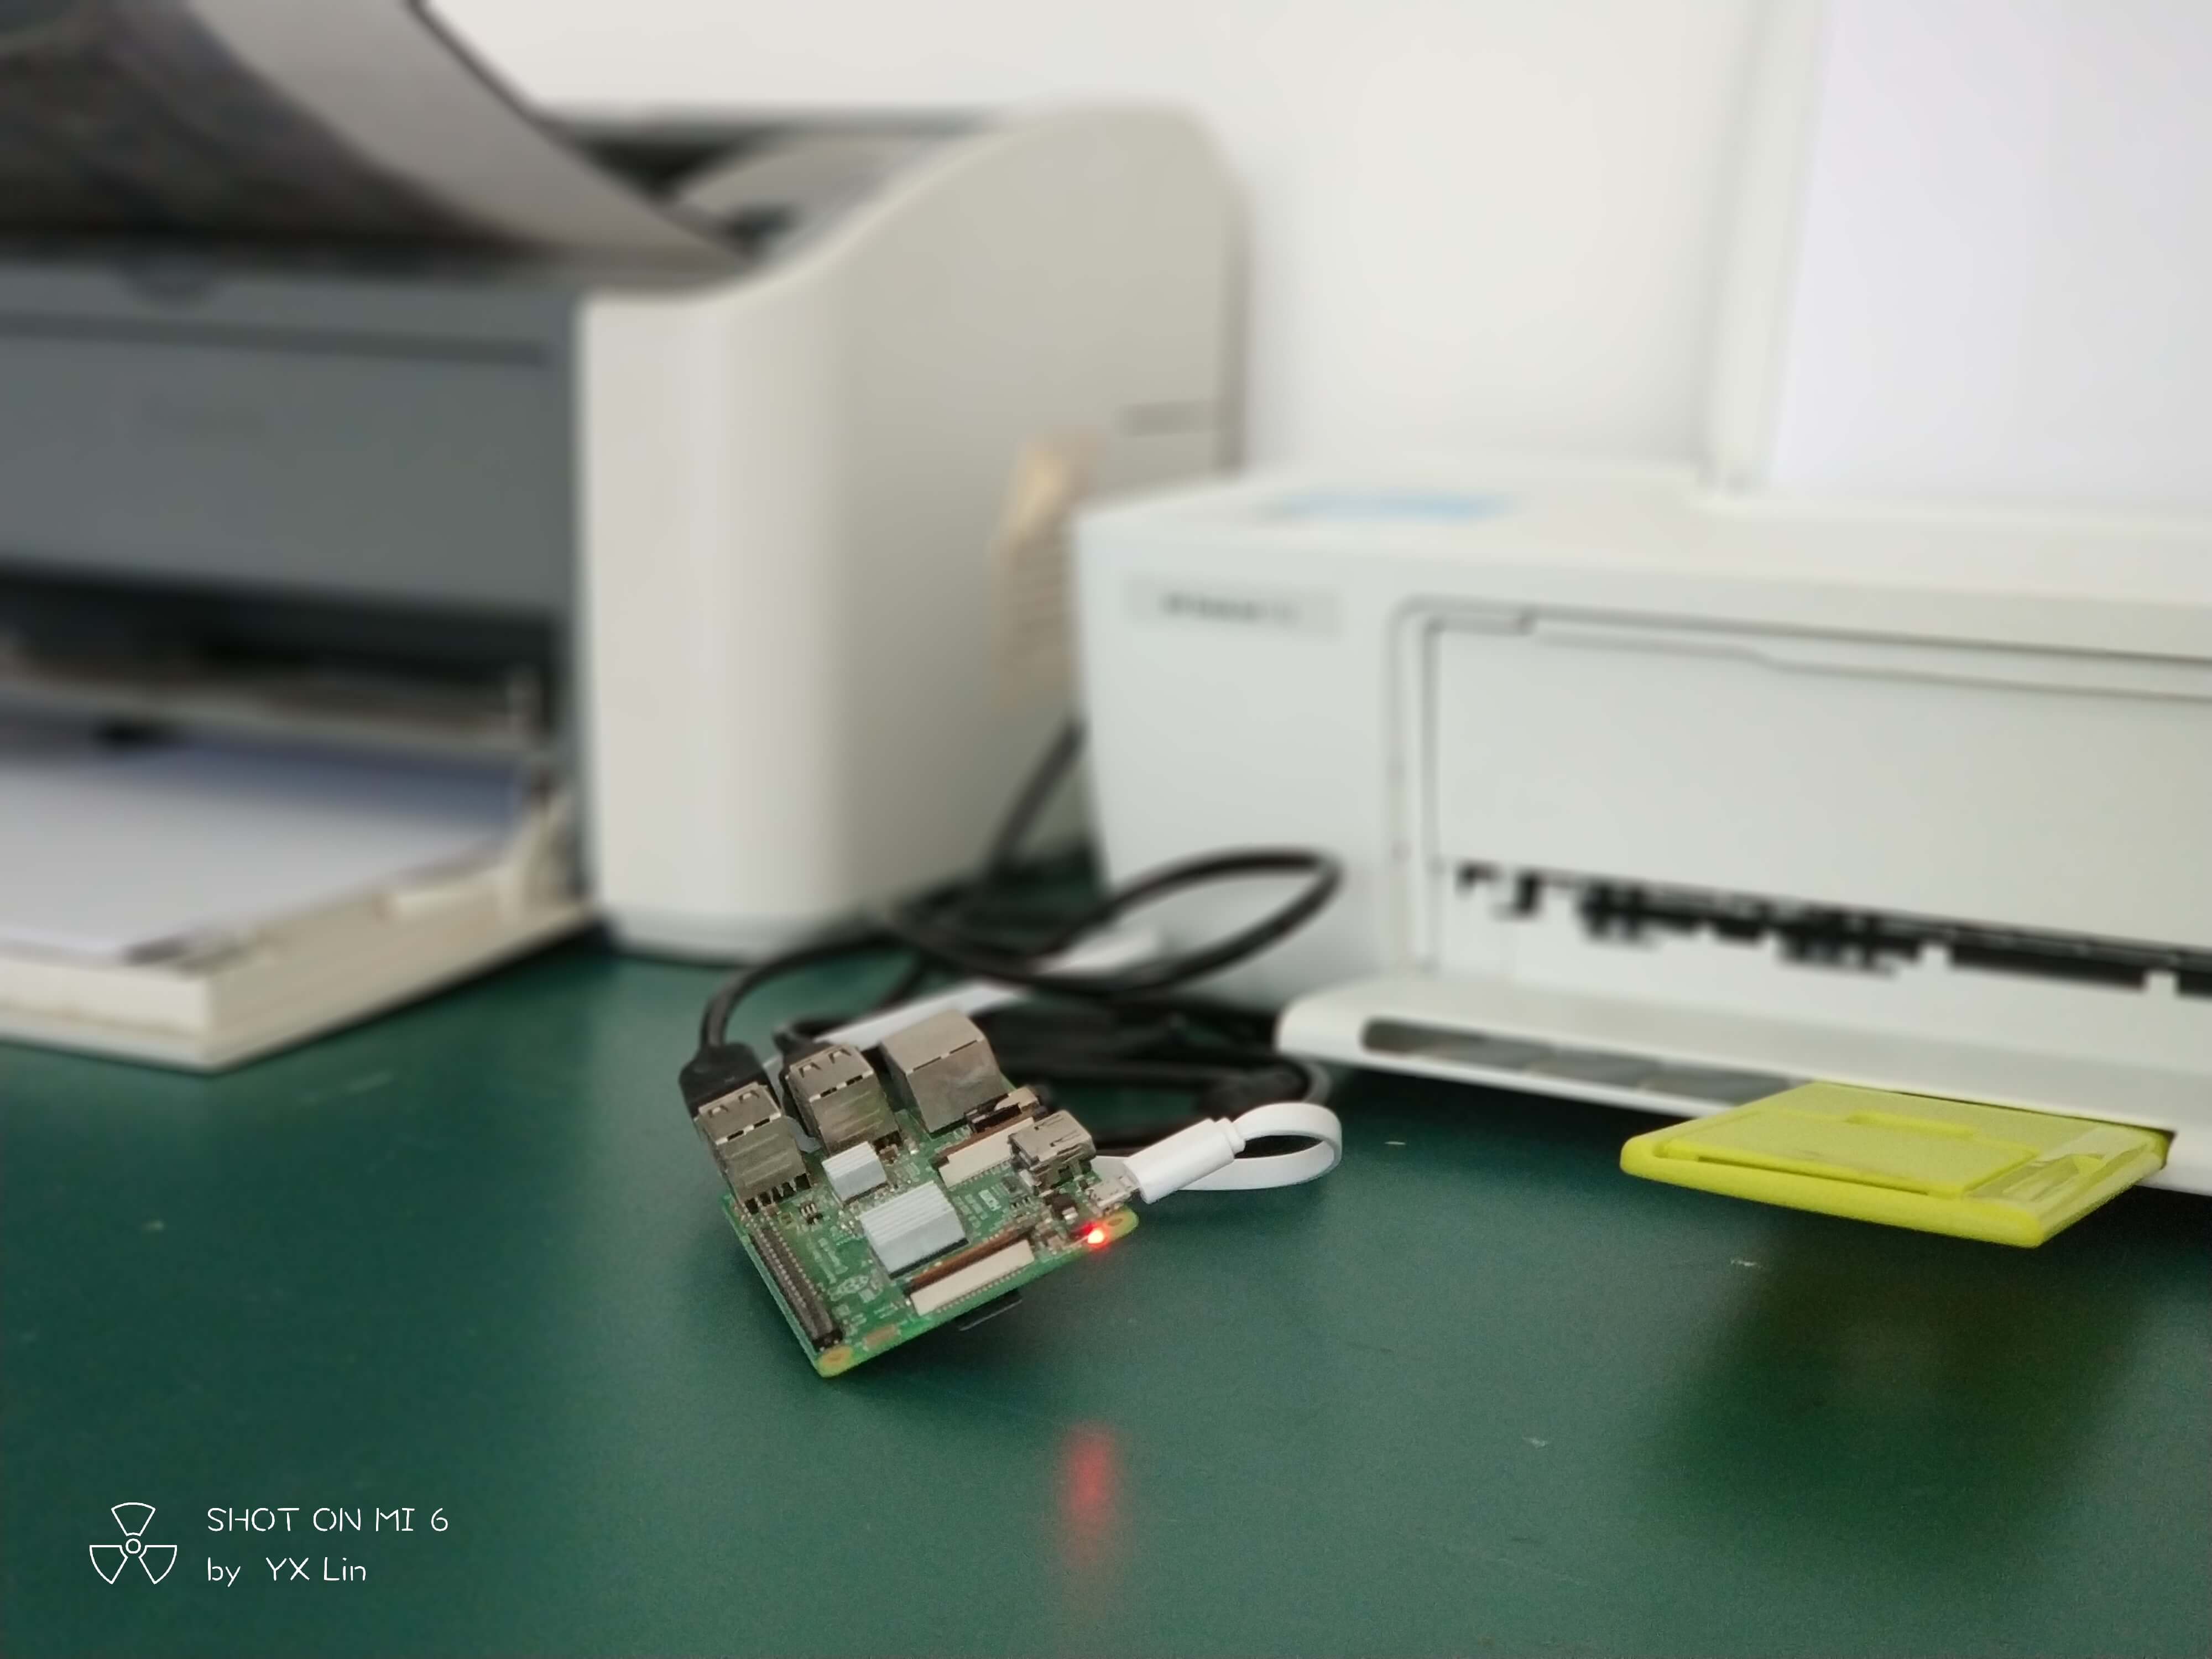
Imagine having a shared printer in the office that is not connected to a computer, requiring manual switching every time you want to print. In this case, you can use Raspberry Pi as a print server to enable cloud printing sharing.
Steps
1. Preparations
Flash Raspbian system onto Raspberry Pi, and it is recommended to change to a domestic software source.
2. Configure Cloud Print Service
Install CUPS plugin:
Check the current IP address of Raspberry Pi:
Now you can enter the following in your browser:
Open the CUPS interface. Your browser may display a warning, which can be ignored.
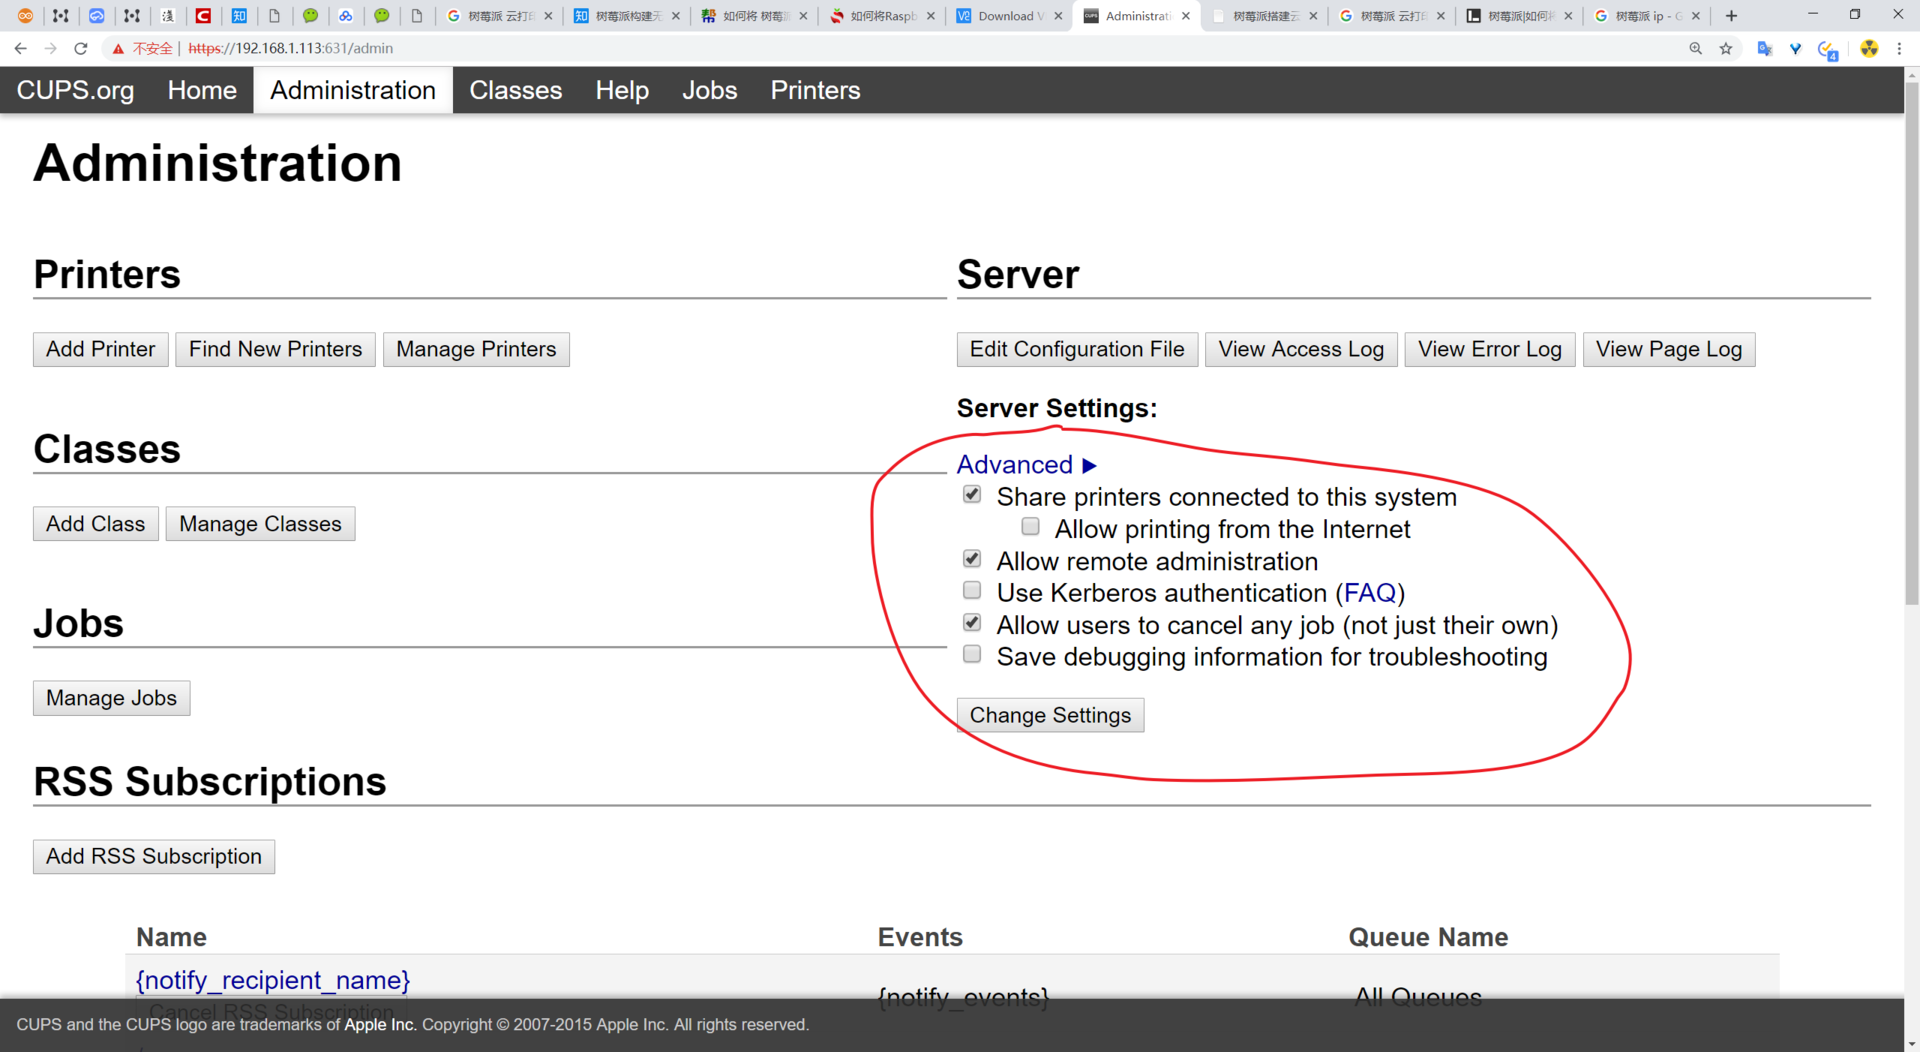
Go to the Administration page and pay attention to the checkboxes on the right:
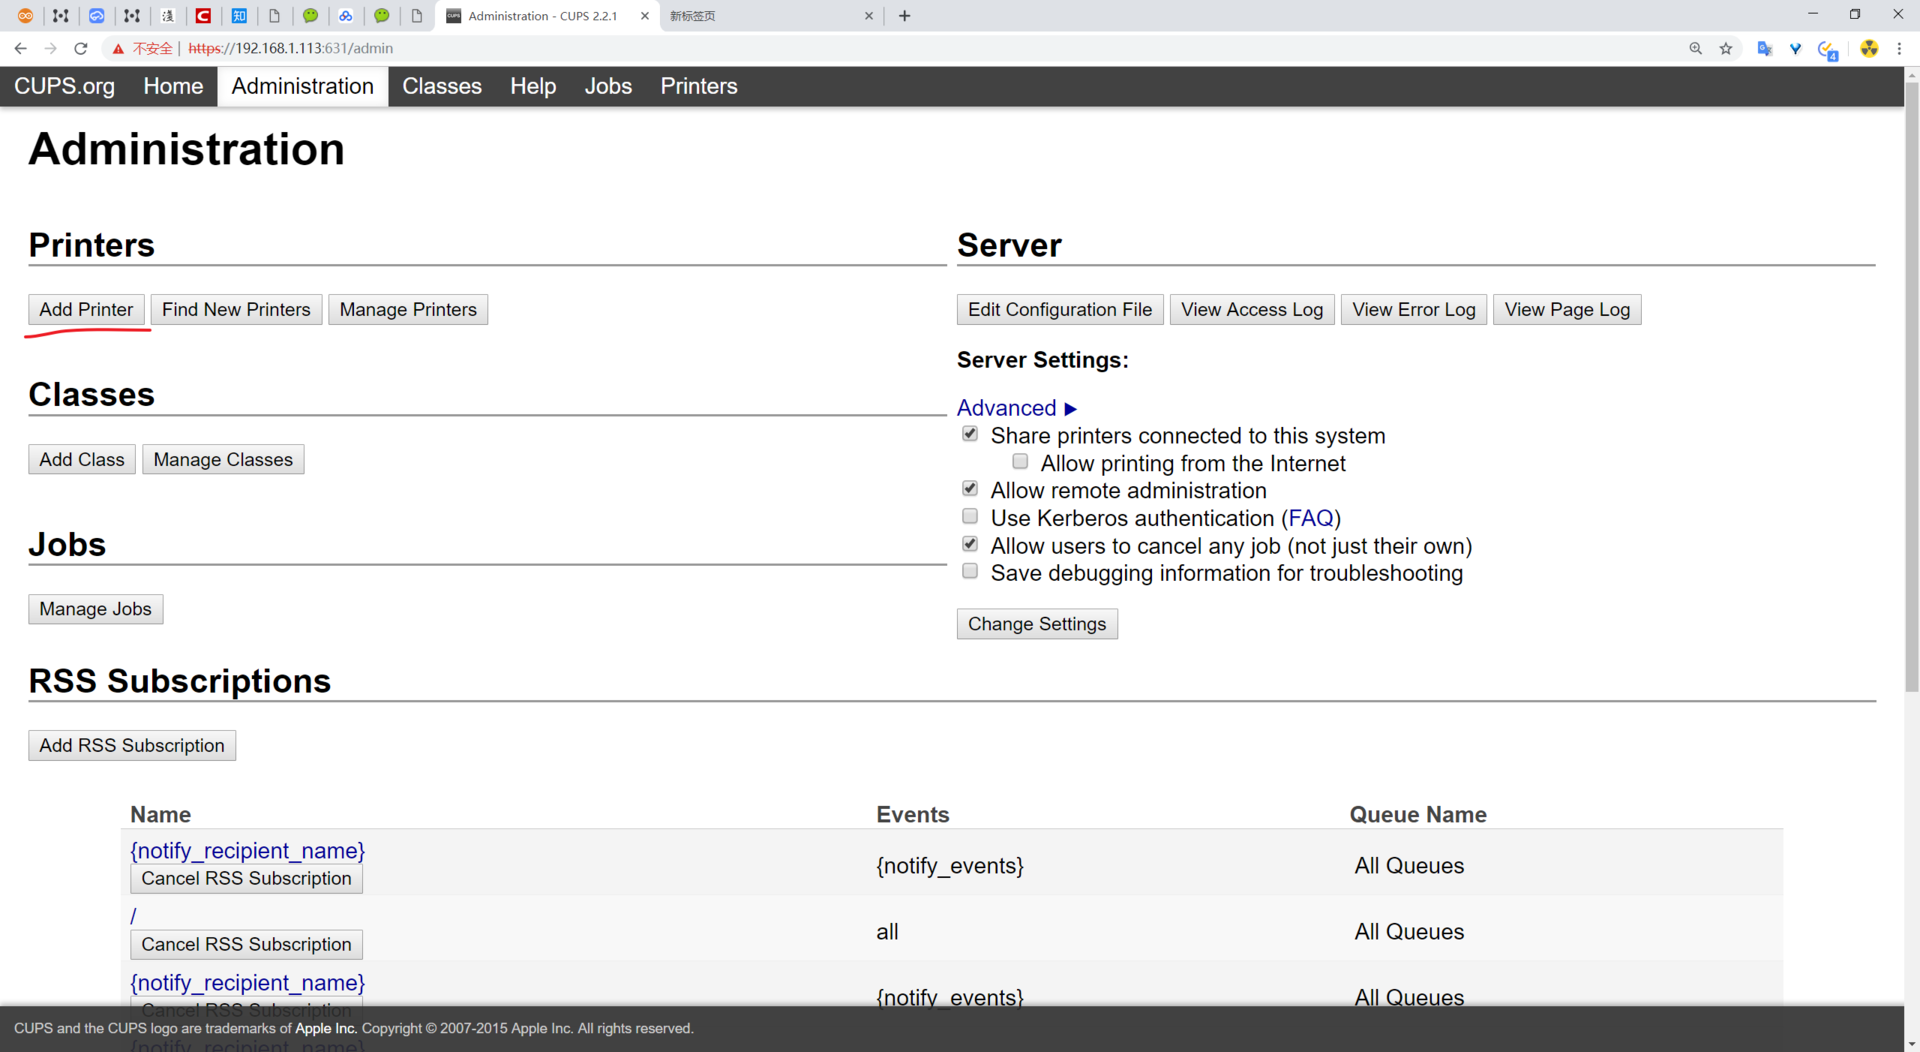
Add a printer:
Connect the printer to Raspberry Pi using a USB cable. You should be able to see the local USB device: 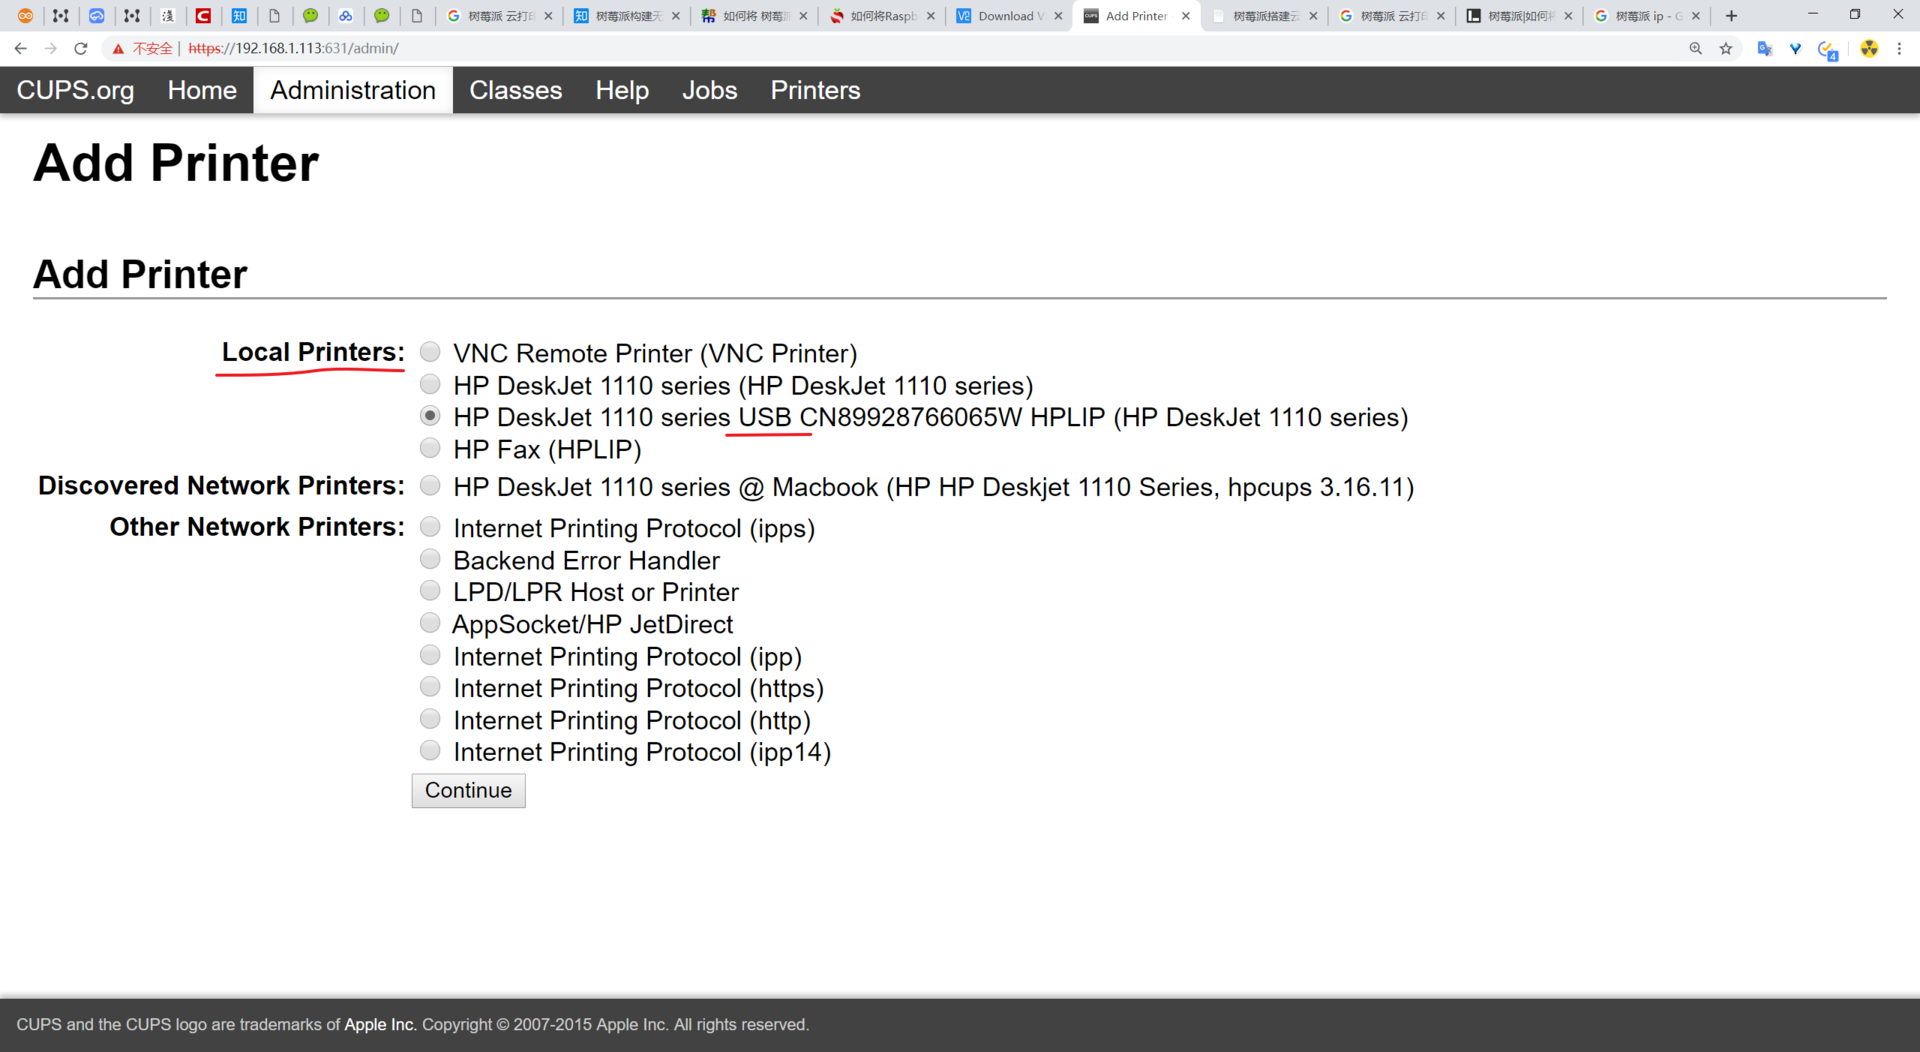
Add the device directly, choose a simple name, and make sure to check the "share" option: 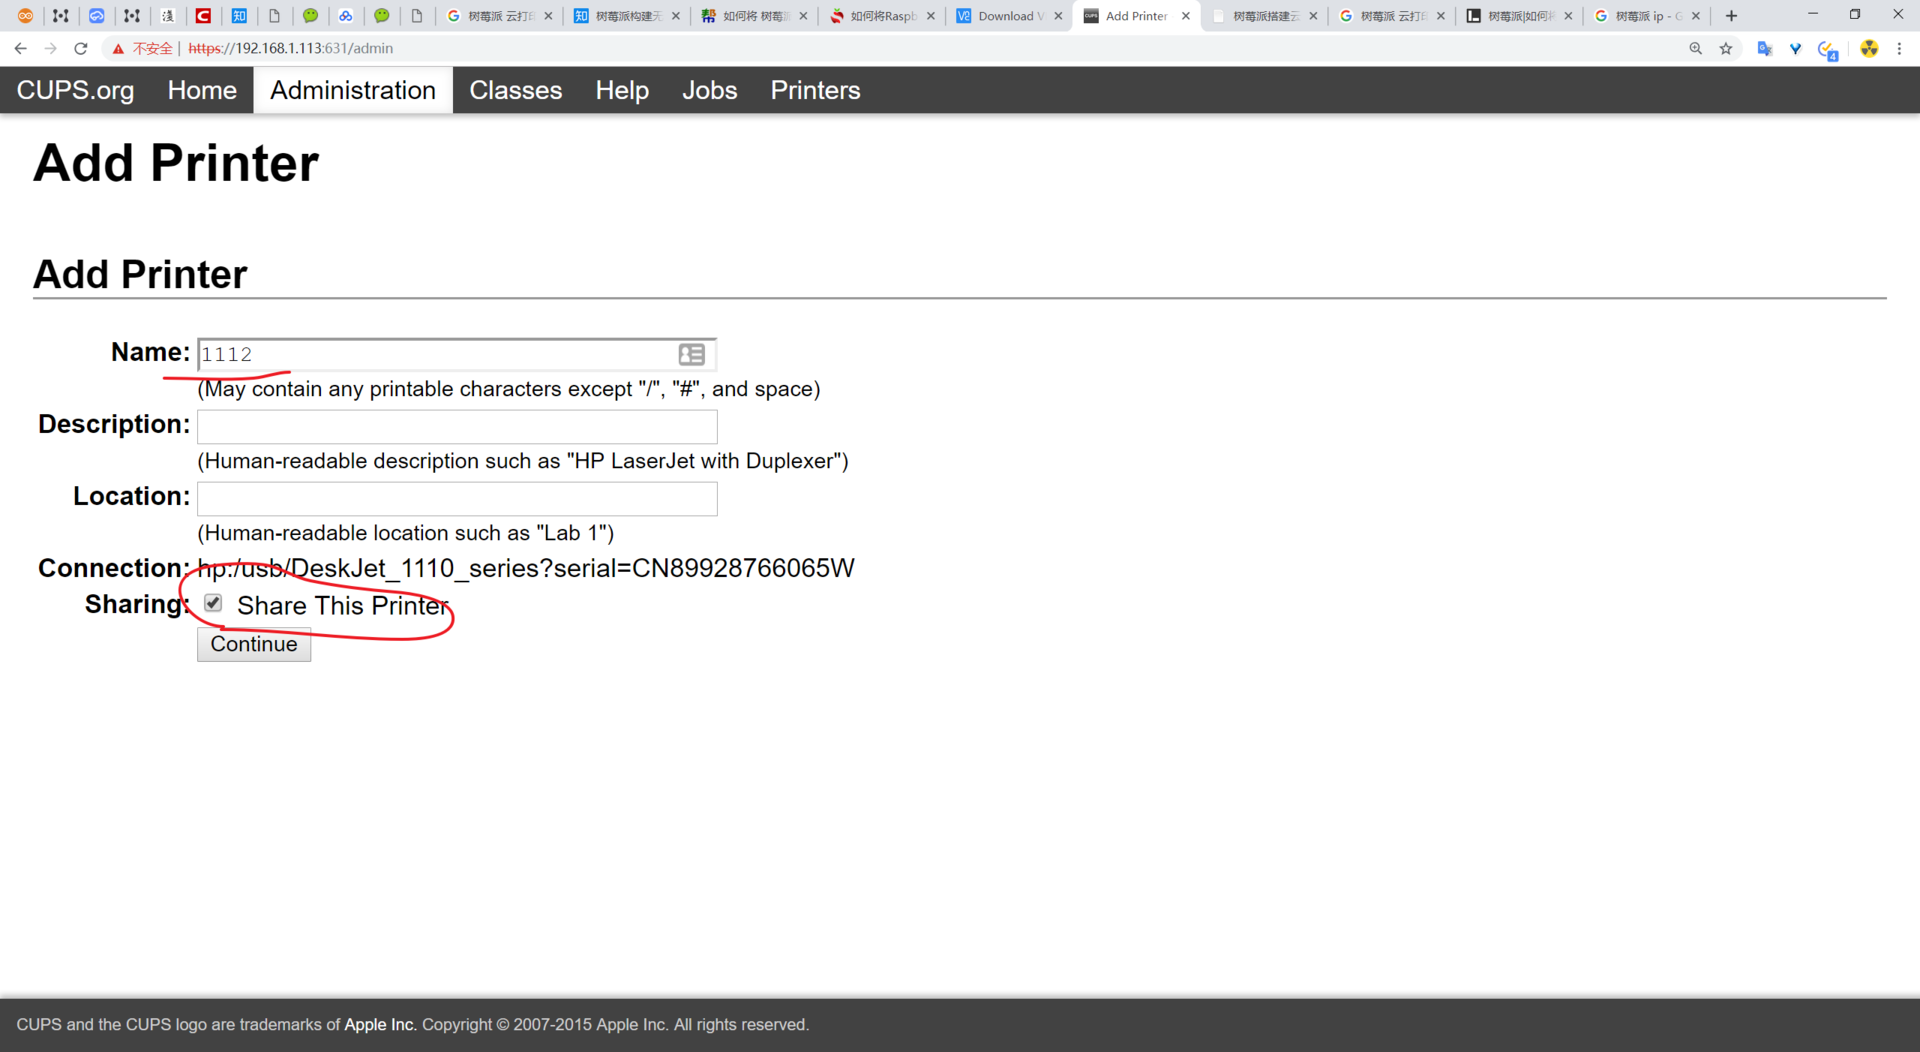
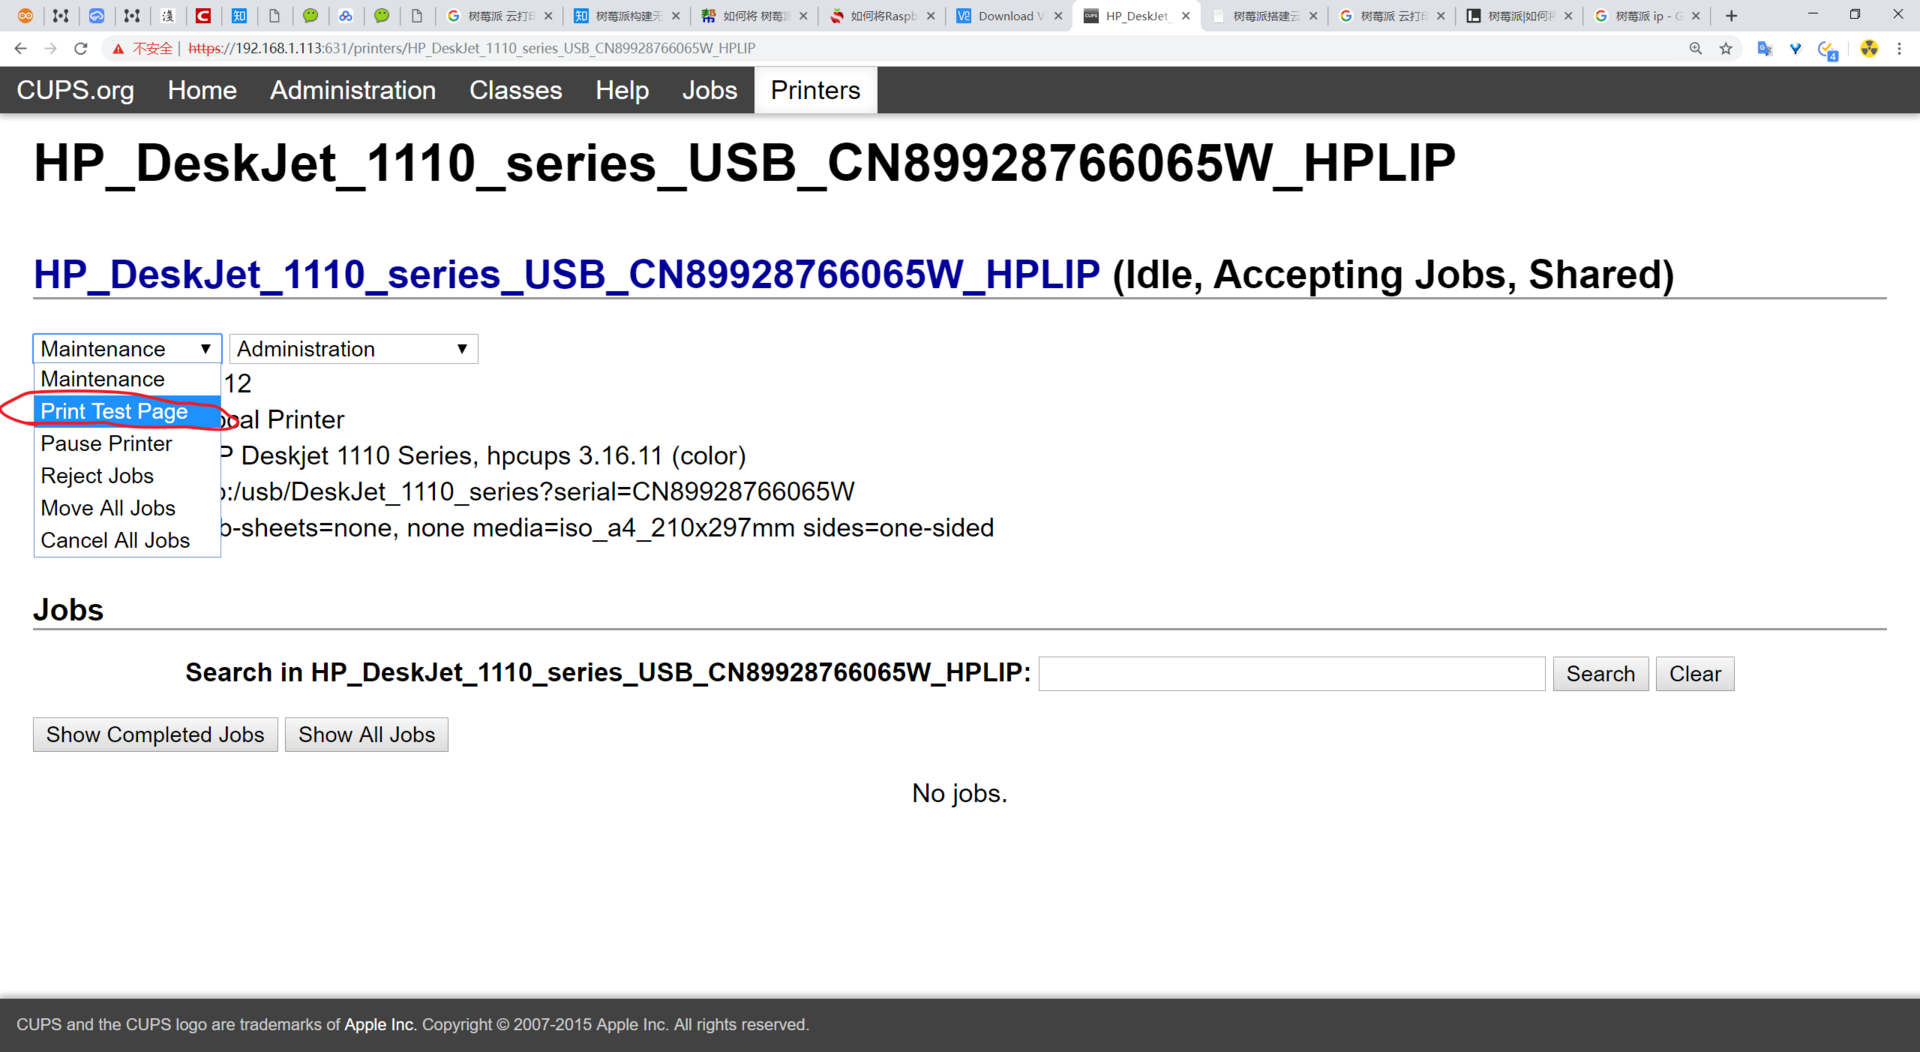
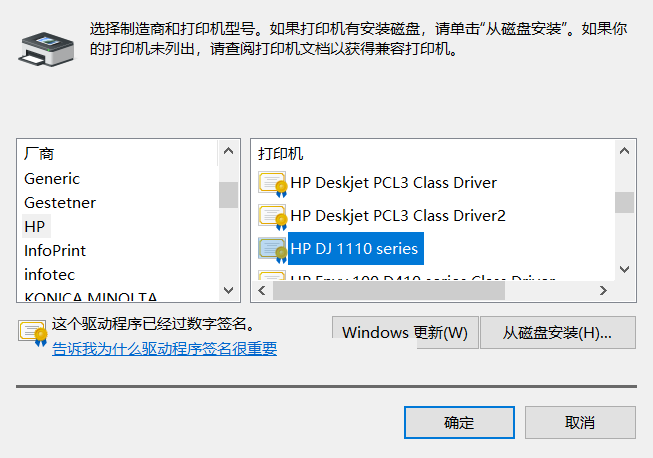
Find the corresponding model of the printer and continue with the setup. After the configuration is complete, you can select Print Test Page on the printer's page to test if it can print correctly:
3. Configure on Windows
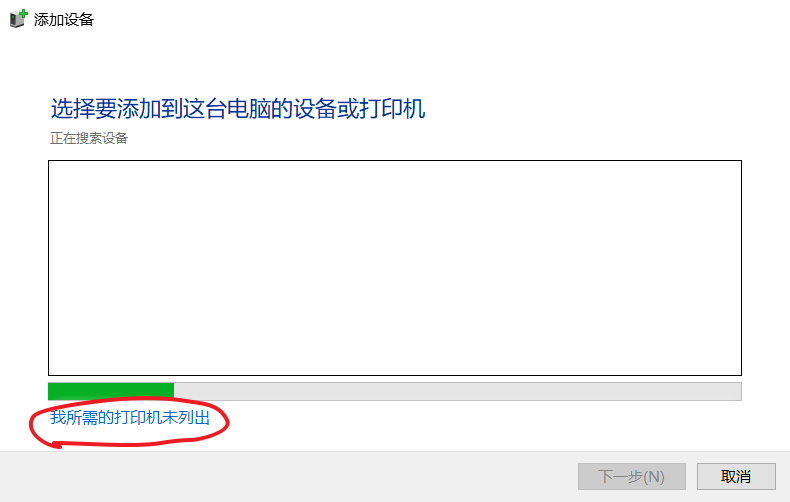
Control Panel - Devices and Printers - Add Printer
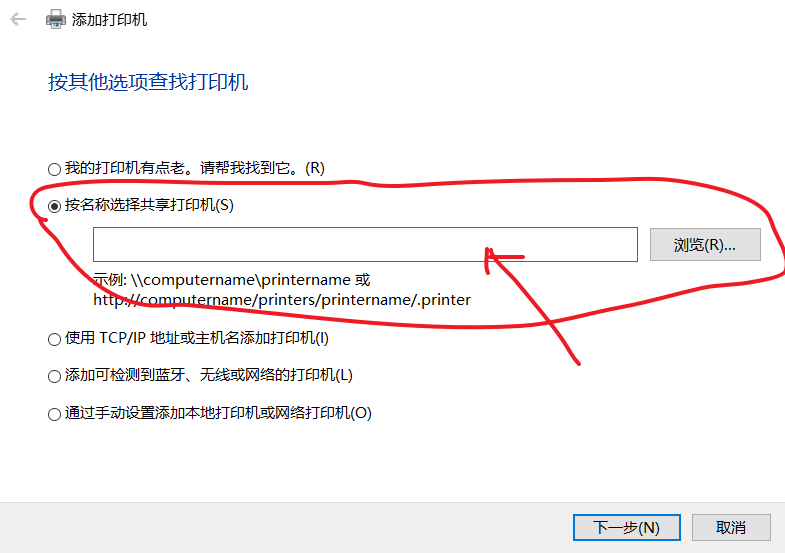
Enter the IP, for example:
Try printing a test page?
Summary
When you find yourself repeating the same task more than twice, it's time to consider automating the process. Learn to use smart methods to save time and effort.
References and Acknowledgements
Original: https://wiki-power.com/
This post is protected by CC BY-NC-SA 4.0 agreement, should be reproduced with attribution.This post is translated using ChatGPT, please feedback if any omissions.