Setting Up a Password Manager with Bitwarden on Synology Docker
Note: Due to a change in the bitwarden_rs image name, and incompatibility with Bitwarden's official browser extension with the old version, please replace bitwardenrs/server with vaultwardenrs/server in the following text, and ensure the version is not lower than 1.27.0!
This article explains how to privately deploy the cross-platform password management server Bitwarden on your own Synology NAS using Docker.
Currently, there are various password management solutions such as 1Password, LastPass, KeePass, and Bitwarden, each with its own strengths and weaknesses. My specific requirements include cross-device synchronization, open-source and self-hosted capabilities, and an automatic form-filling feature, all while maintaining an attractive user interface. Hence, I chose to deploy Bitwarden on my Synology NAS.
Deploying on Synology Docker
Create a Data Storage Folder
Under the docker directory, create a folder to store Bitwarden data (e.g., docker/bitwarden).
Download the Image and Configure the Container
Open the Synology Docker package, download the bitwardenrs/server image, double-click to start it, enable "Auto-restart," and then go to "Advanced Settings."
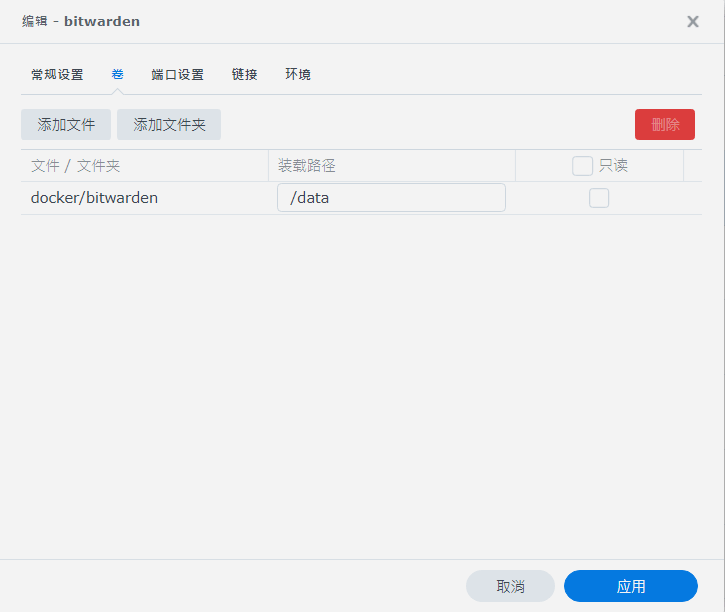
On the "Volume" page, configure the mounted folder by clicking "Add Folder" and select the local path docker/bitwarden with the mount path as /data (leave this as the default):
On the "Port Settings" page, manually set the local port that corresponds to container port 80 (e.g., I set it to 8003):

After completing the configuration, start the container. Access Bitwarden's login page by entering your Synology's local IP followed by :8003. However, when you create an account and attempt to log in, you'll encounter the following message:
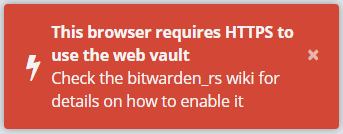
This is because the Docker container itself does not provide an HTTPS port configuration, and Bitwarden requires HTTPS for login (SSL encryption to prevent man-in-the-middle attacks). Therefore, you must use Synology's built-in reverse proxy service to access the internal HTTP port via HTTPS. You can find a detailed tutorial in the article Implementing HTTPS Access with Synology's Built-in Reverse Proxy.
Using Bitwarden on Multiple Devices
You can download various client versions from Bitwarden's download page.
Desktop
It is recommended to use the browser extension Bitwarden - Free Password Manager for login. When logging in, click the small gear icon in the upper left to access the settings:
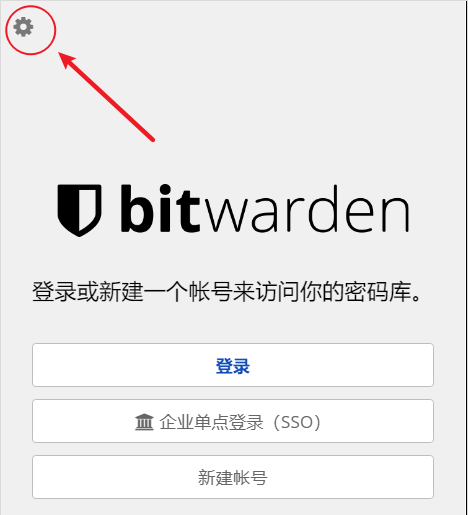
In the "Self-hosted Environment," enter the "Server URL" as your Synology NAS's IP and external port, and you should be able to log in successfully.
If needed, you can also download the desktop client.
Mobile
Directly download the Bitwarden App from the AppStore or various app stores. Configuration of the self-hosted environment is also required on the login page, and the steps are the same as the desktop version.
Backing up Password Database
There are two methods for backing up the Bitwarden database:
- Choose 'Export Password Vault' in the web or client.
- Directly backup the 'data' folder.
References and Acknowledgments
- Synology NAS Advanced Services - Docker Deployment of Bitwarden, a Cross-Platform Password Manager
- Setting Up a Third-Party Bitwarden Password Server on Synology
Original: https://wiki-power.com/ This post is protected by CC BY-NC-SA 4.0 agreement, should be reproduced with attribution.
This post is translated using ChatGPT, please feedback if any omissions.