Self-Improvement of a Servo Motor
How to modify a servo motor to achieve 360° continuous rotation and eliminate noise through code?
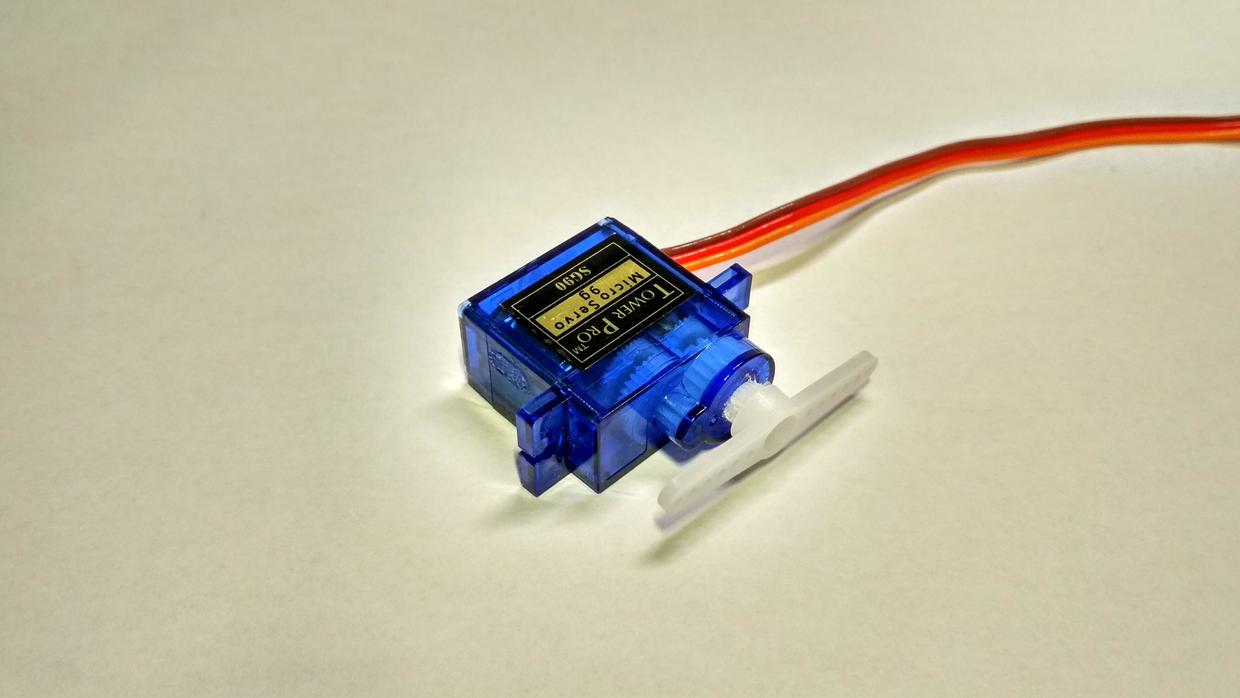
Background
Typically, servo motors can only rotate up to 180° (although continuous rotation servos are available online, they tend to be more expensive). If you wish to use a servo motor for driving a small vehicle, you can convert it into a continuous rotation servo.
Modifying the Servo for 360° Rotation
1. Preparations
Tools needed:
- Screwdriver
- Hot glue gun
- Needle-nose pliers
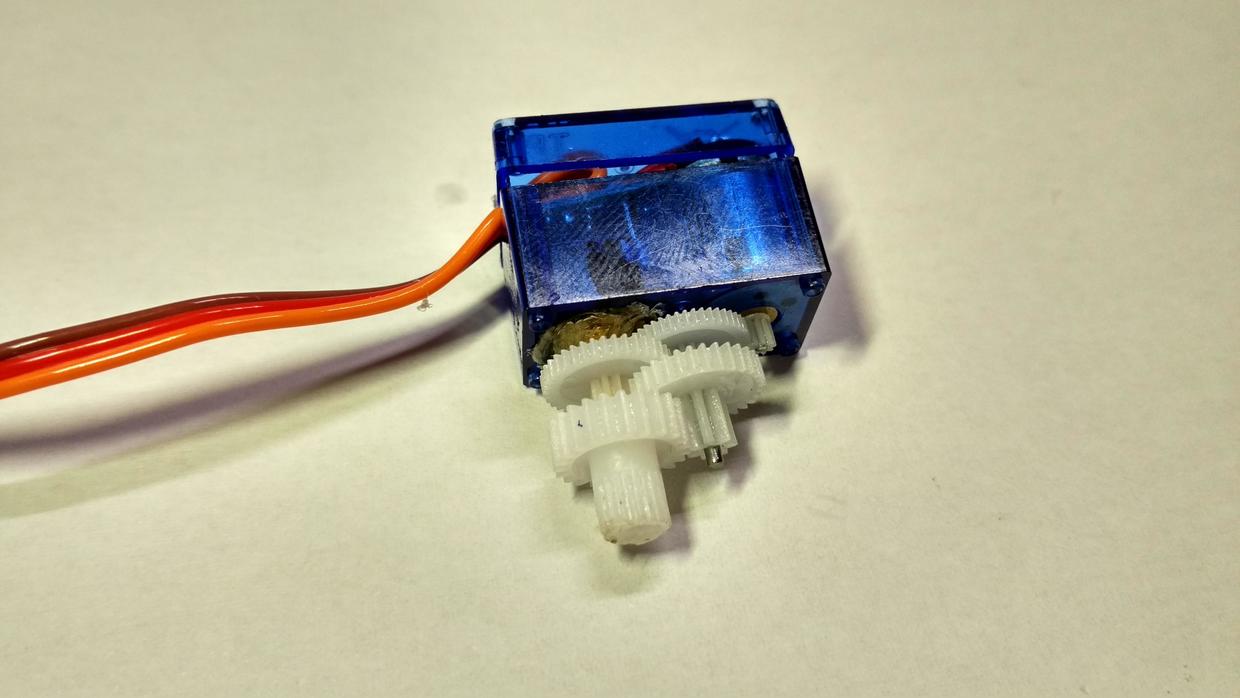
2. Disassemble the Servo
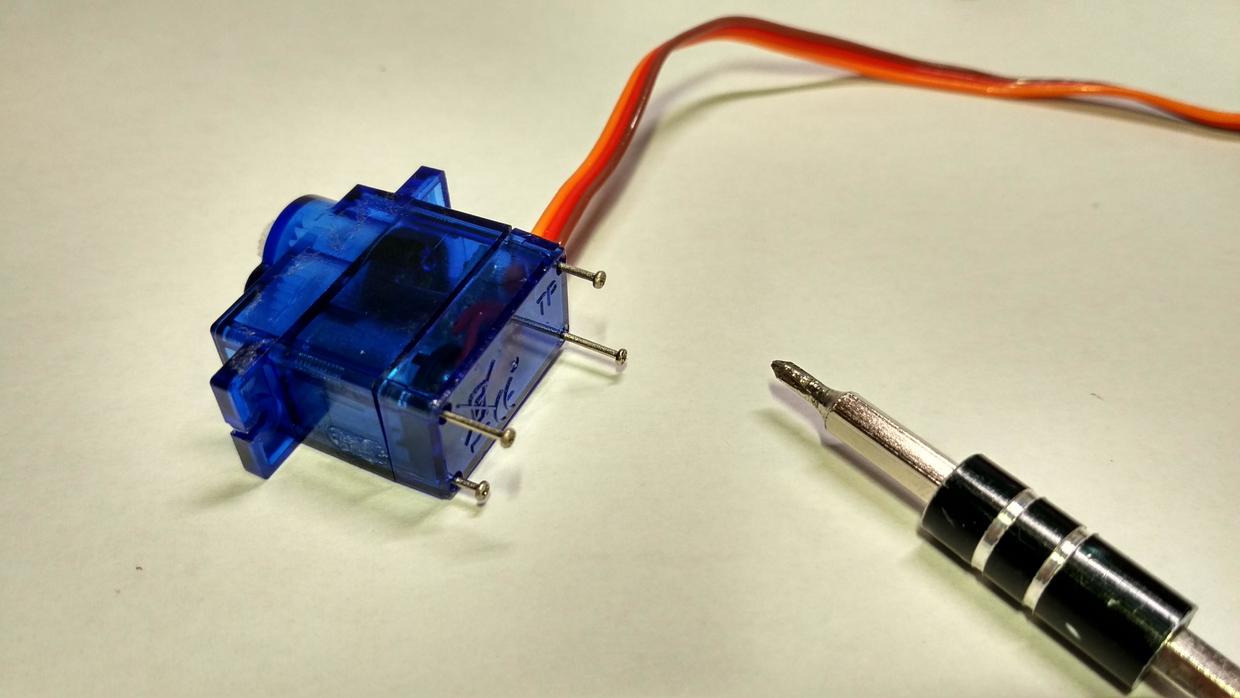
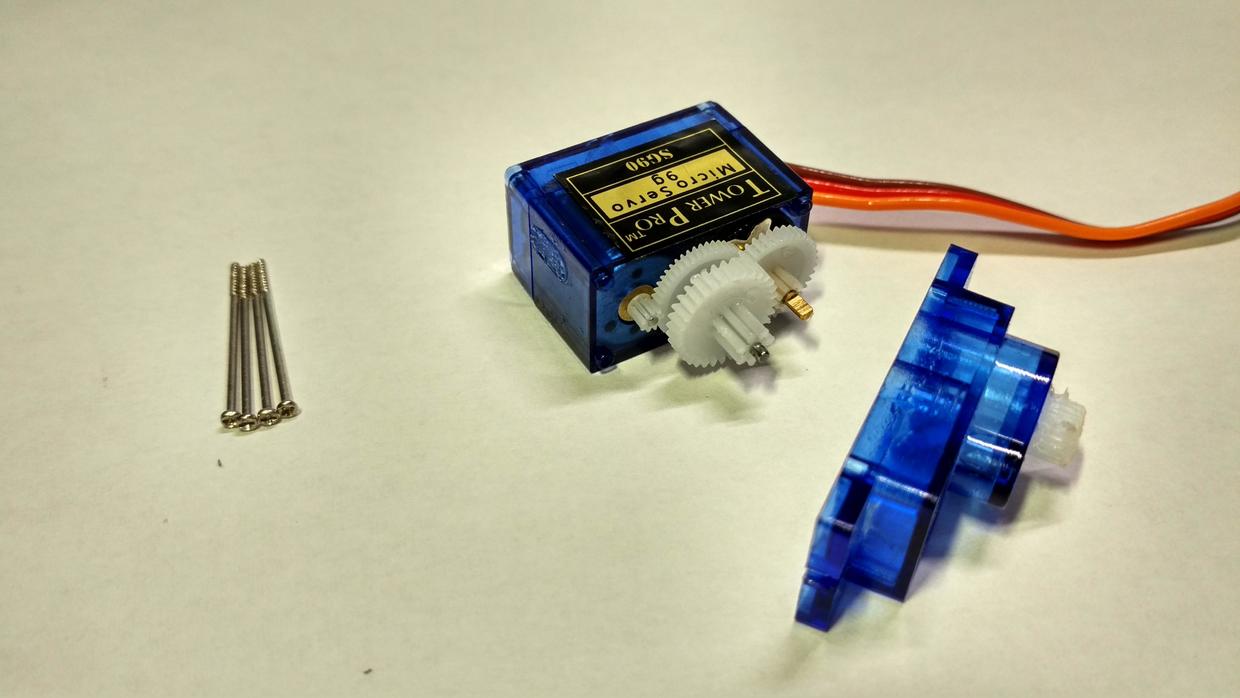
Make sure to take note of the position of each gear.

3. Modify the Gears
Remove the largest gear and use needle-nose pliers to trim off the protruding part from the back. 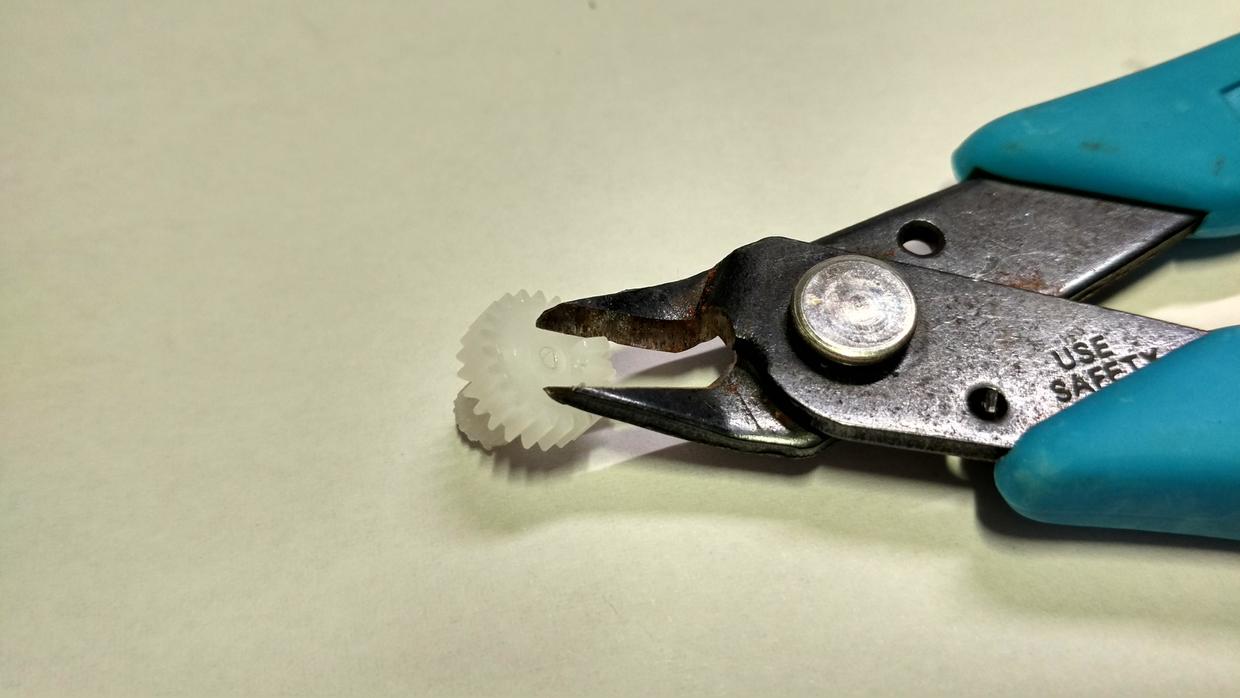
Find a screwdriver with a slightly larger diameter than the shaft, and enlarge the inner diameter of this gear to allow it to rotate freely on the shaft. 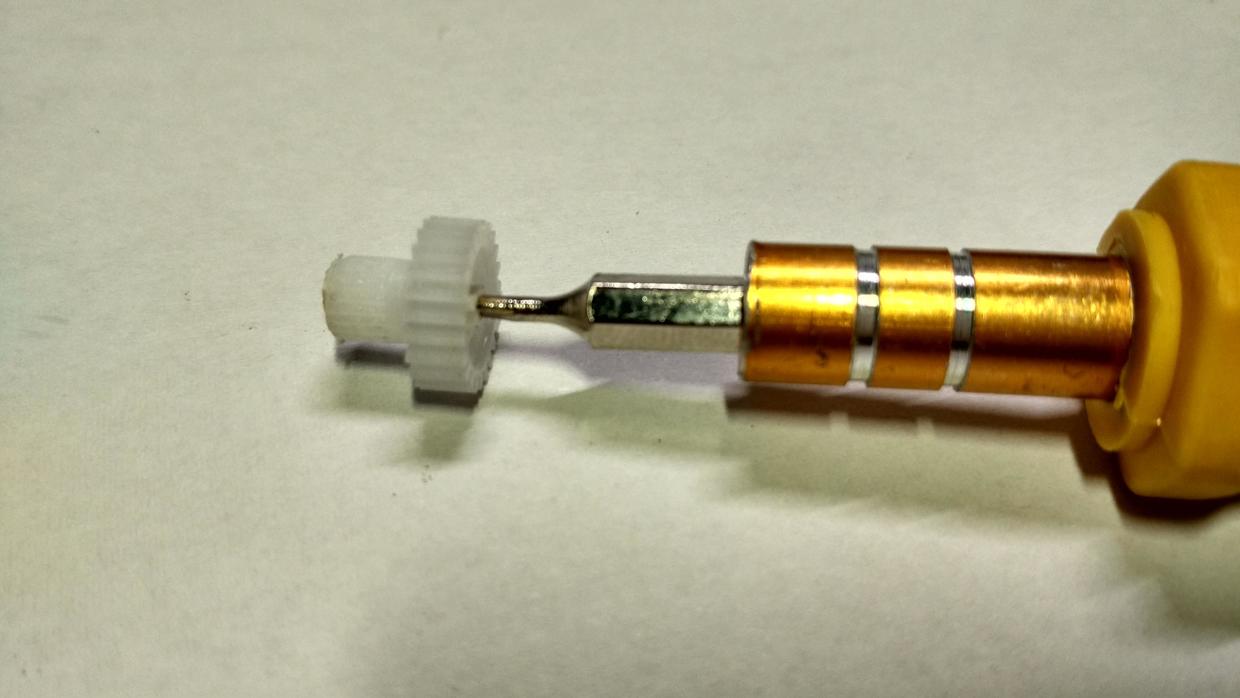
4. Seal the Potentiometer
Before proceeding with this step, you must return the servo motor to its center position.
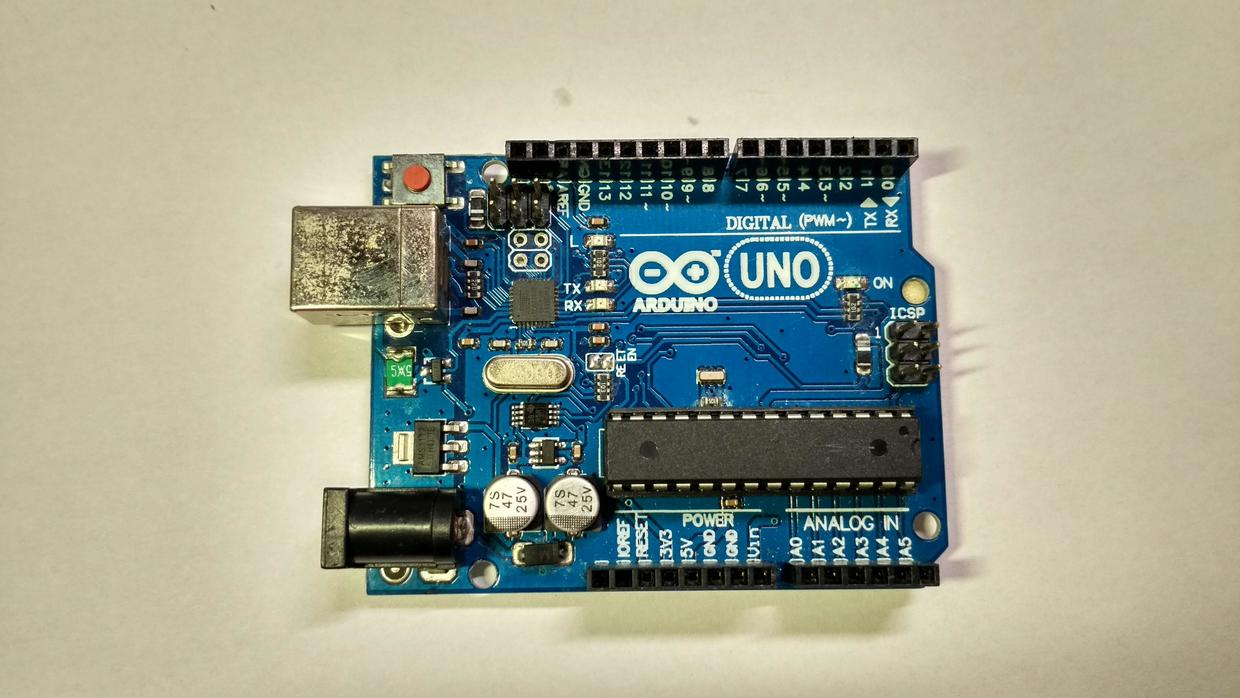
Use an Arduino board to program the servo motor to return to its center position:
// by Lin
#include <Servo.h>
Servo myservo;
void setup() {
  myservo.attach(9); // Connect the servo to Arduino's D9
}

void loop() {
  myservo.write(90); // Move the servo to the center position
}
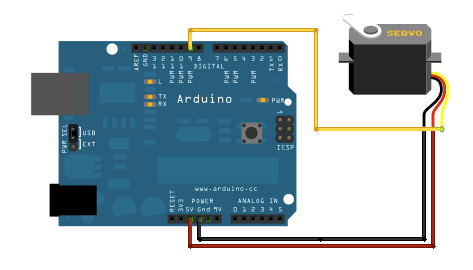
As shown, connect the servo, and you will notice it continuously rotating.
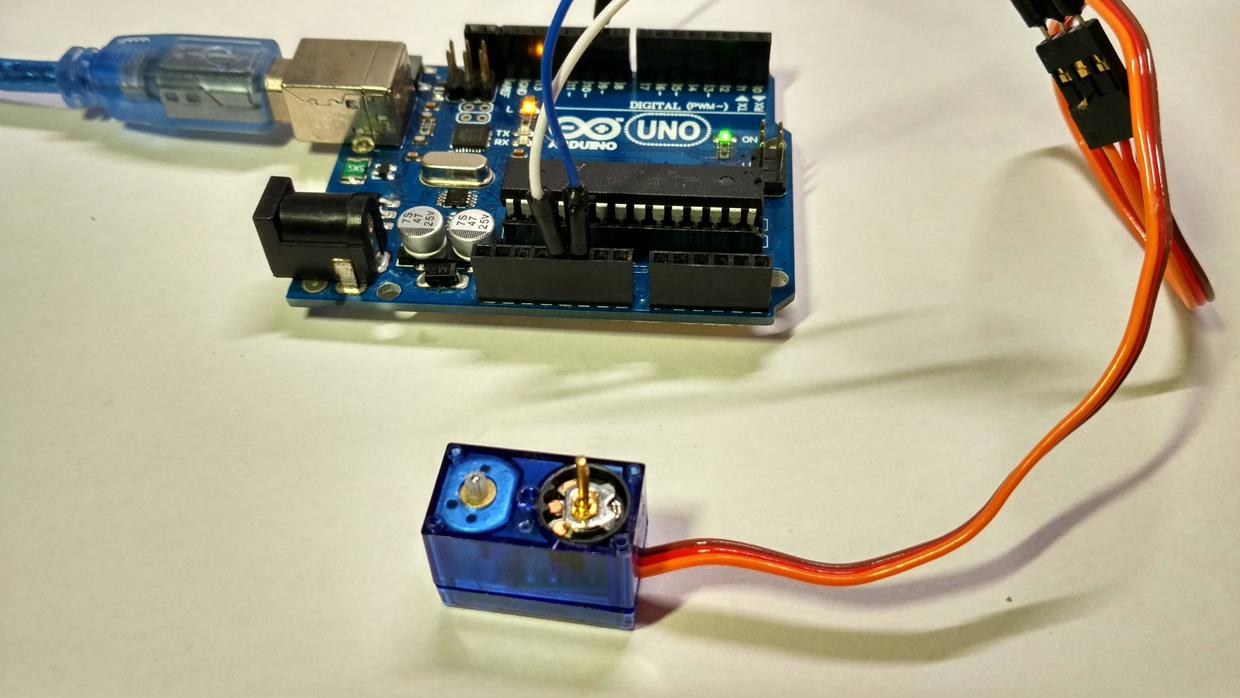
Rotate the shaft on the right back and forth a few times to find a position that makes the motor stop (adjust the potentiometer to the middle value). 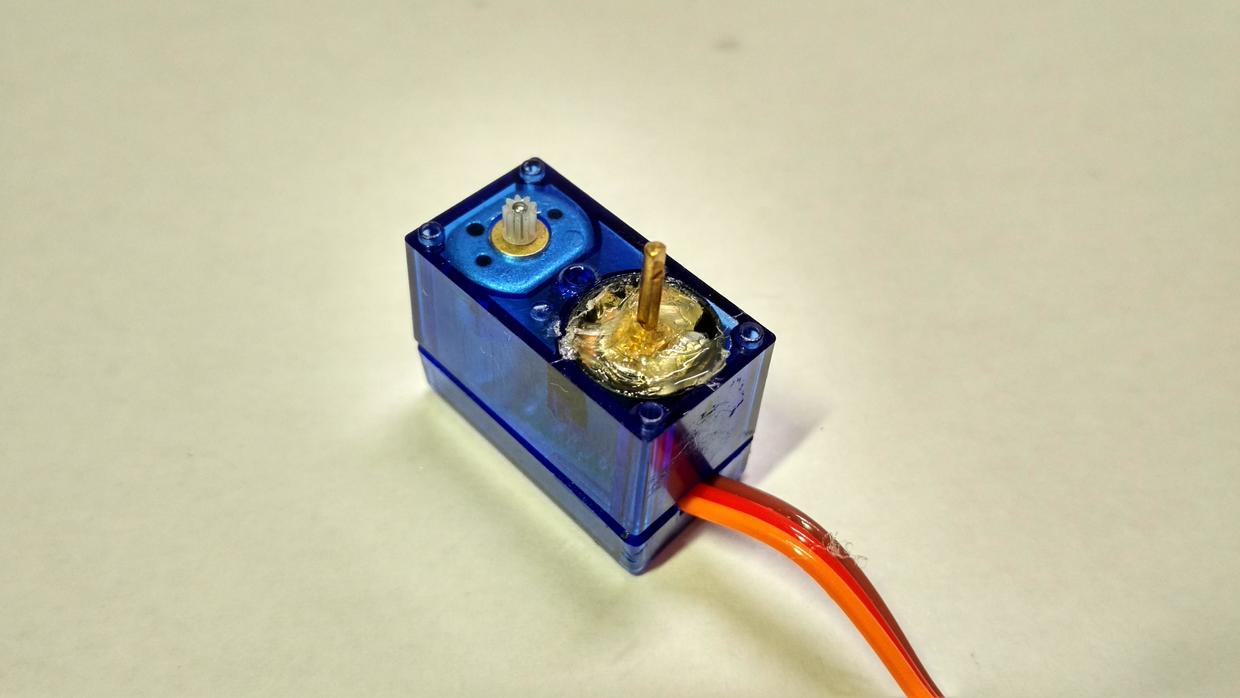
Apply glue to the potentiometer to seal it. Be careful not to accidentally turn the shaft during this step; if that happens, you'll need to return to step three.
5. Reassembly
Reassemble the gears, ensuring they are in the correct positions. Secure the screws, and you will have a 360° continuous rotation servo.
6. Testing
Upload the following code:
This will allow you to test the modified servo motor's performance.
#include <Servo.h>
Servo myservo;
int pos = 0;

void setup() {
  myservo.attach(9);
}

void loop() {
  for (pos = 0; pos <= 180; pos += 1) {
    // Moving in 1-degree steps
    myservo.write(pos);
    delay(15);
  }
  for (pos = 180; pos >= 0; pos -= 1) {
    myservo.write(pos);
    delay(15);
  }
}
Servo Status: Acceleration - Deceleration - Reverse Direction Acceleration - Deceleration...
Eliminating Noise
Background
When using servos to create IoT devices, it's often encountered that servos make noise even after reaching the desired position. This can be quite annoying. @张世博 came up with a method to add a relay in the servo's power supply line and turn off the power when the servo doesn't need to move. However, this method increases hardware costs and adds code complexity.
Solution
When the servo needs to work, use the attach() function, and after the servo has finished working, use the detach() function.
{
    servo.attach(9);
    servo.write(pos);
    delay(250);

    // Disconnect the servo to prevent noise
    servo.detach();
}
FAQ
Q: This is for a specific type of servo. How can I modify it for metal servos with different structures?
A: You can refer to this article on Modifying a Servo for Continuous Rotation.
References and Acknowledgments
- More Servo Hacks
- Simple Software Solution to Eliminate Servo Noise
- Modifying a Servo for Continuous Rotation
- DIYer's Guide: Understanding Servos
Original: https://wiki-power.com/ This post is protected by CC BY-NC-SA 4.0 agreement, should be reproduced with attribution.