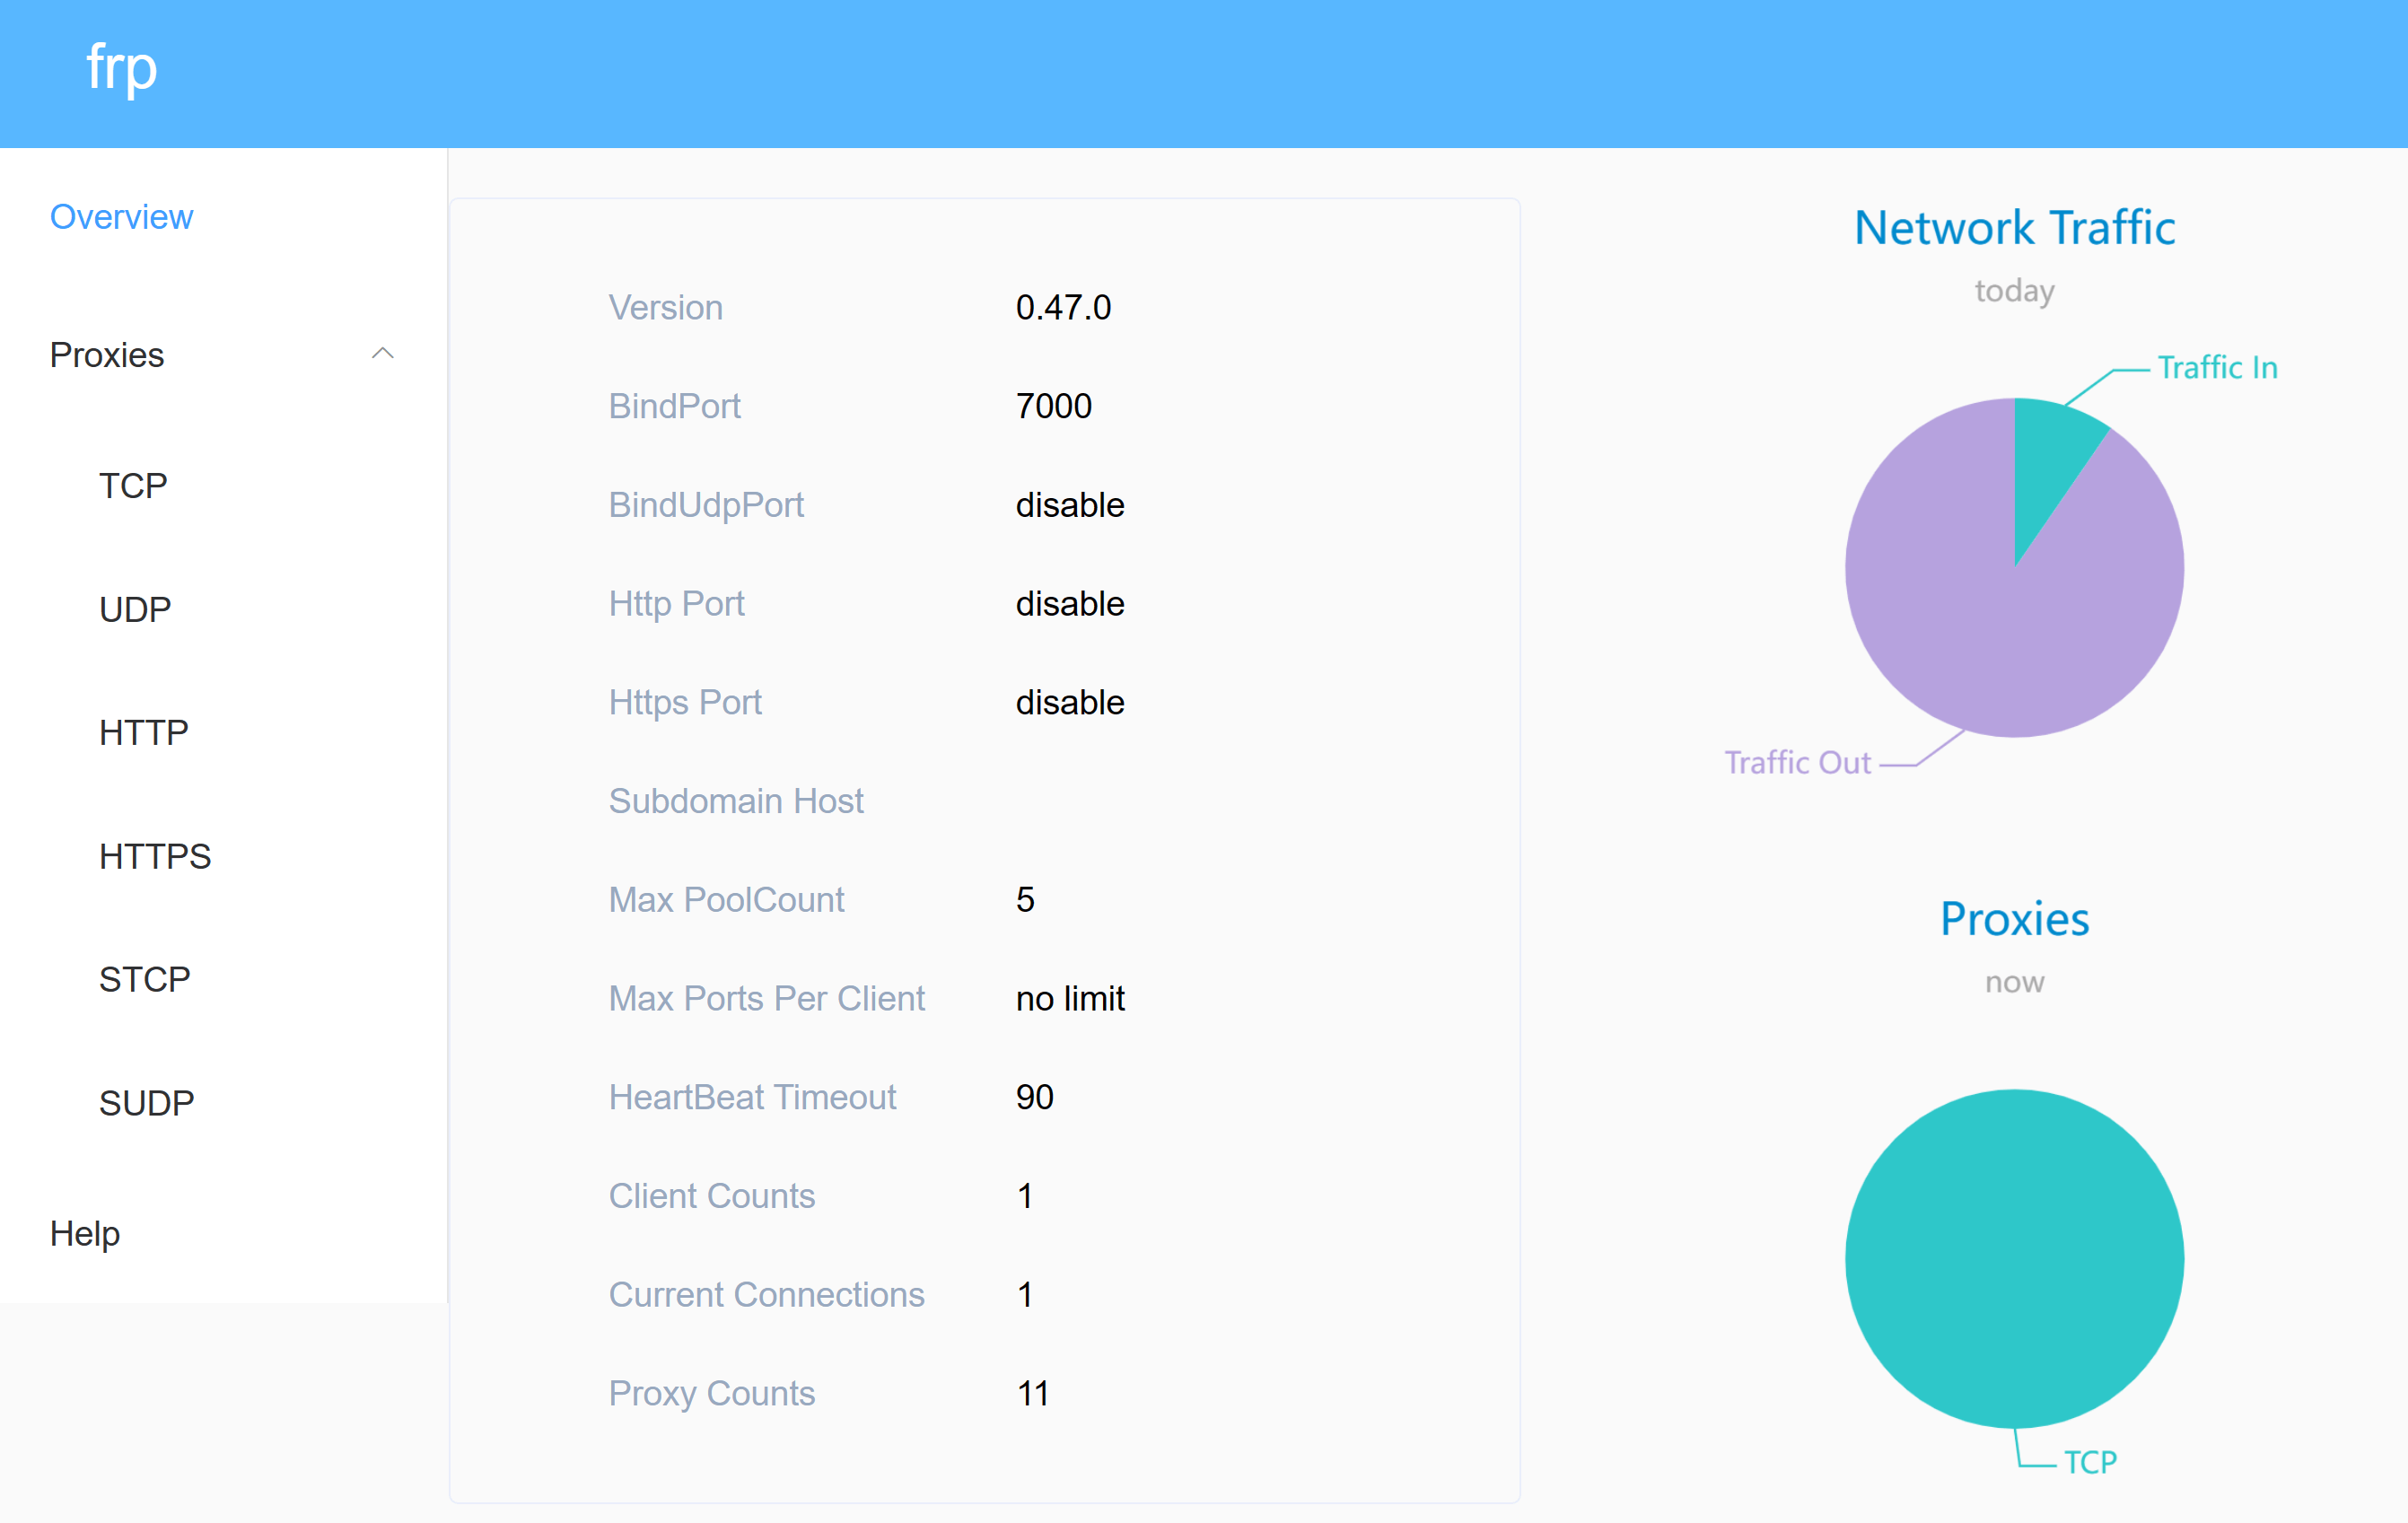
الورشة المنزلية - أداة اختراق الشبكة الداخلية frp

frp هو طريقة لاختراق الشبكة الداخلية. يمكنك تعريض منفذ جهاز الشبكة الداخلي للإنترنت من خلال خادم يحتوي على عنوان IP عام. يدعم frp العديد من البروتوكولات مثل TCP وUDP وHTTP وHTTPS.
نشر خادم frps (Docker Compose)
أولاً، أنشئ ملف compose.yaml وألصق المحتوى التالي:
version: "3"
services:
  frps:
    container_name: ${STACK_NAME}_app
    image: fatedier/frps:${APP_VERSION}
    network_mode: host
    volumes:
      - ${STACK_DIR}/frps.toml:/etc/frp/frps.toml
    command: "-c /etc/frp/frps.toml"
    restart: always
(اختياري) ننصح بإنشاء ملف .env في نفس مستوى ملف compose.yaml وتخصيص المتغيرات البيئية الخاصة بك. في حالة عدم الرغبة في استخدام المتغيرات البيئية، يمكنك تخصيص المعلمات مباشرة داخل compose.yaml (مثل استبدال ${STACK_NAME} بـ frps).
STACK_NAME=frps
STACK_DIR=/DATA/AppData/frps # تخصيص مسار تخزين المشروع الخاص بك، على سبيل المثال: ./frps

# frps
APP_VERSION=v0.56.0
أضف ملف تكوين frps.toml إلى مسار تخزين المشروع ${STACK_DIR} الخاص بك:
bindAddr = "0.0.0.0"
bindPort = 7000 # منفذ frp المفتوح على الخادم، يجب أن يتم تطابقه مع إعدادات frpc لاحقًا

kcpBindPort = 7000

transport.maxPoolCount = 5

webServer.addr = "0.0.0.0" # عنوان لوحة التحكم، يجب أن يكون 0.0.0.0 للوصول من الإنترنت
webServer.port = 7500 # منفذ لوحة التحكم الخاصة بـ frps
webServer.user = "xxxxxx" # اسم مستخدم لوحة التحكم
webServer.password = "xxxxxx" # كلمة المرور

auth.method = "token"
auth.token = "xxxxxx" # رمز مخصص، يجب تطابقه مع frpc

allowPorts = [
  { start = 2000, end = 3000 },
  { single = 3001 },
  { single = 3003 },
  { start = 4000, end = 50000 }
]
أخيرًا، قم بتشغيل الحاوية المعدلة باستخدام الأمر docker compose up -d في نفس مستوى ملف compose.yaml.
إذا كنت لا تستخدم Docker، يمكنك الاطلاع على هذه المقالة: إعداد الخادم· كيفية تحقيق تحكم عن بُعد لبروتوكول RDP عبر الإنترنت (frp).
نشر عميل frpc (Docker Compose)
أولاً، أنشئ ملف compose.yaml وألصق المحتوى التالي:
version: "3"
services:
  frpc:
    container_name: ${STACK_NAME}_app
    image: fatedier/frpc:${APP_VERSION}
    network_mode: host
    volumes:
      - ${STACK_DIR}/frpc.toml:/etc/frp/frpc.toml
    command: "-c /etc/frp/frpc.toml"
    restart: always
(Optional)It is recommended to create a .env file in the same directory as compose.yaml and customize your environment variables. If you prefer not to use environment variables, you can directly customize your parameters within compose.yaml (such as replacing ${STACK_NAME} with frpc).
STACK_NAME=frpc
STACK_DIR=/DATA/AppData/frpc # Customize the project storage path, for example, ./frpc

# frpc
APP_VERSION=v0.56.0
Add the configuration file frps.toml in your project storage path ${STACK_DIR}:
user = "client-device-1" # Current device name

serverAddr = xx.xx.xx.xx # Public IP of the server
serverPort = 7000 # frp port opened on the server, needs to match the setting on frps

auth.method = "token"
auth.token = "xxxxxx" # Needs to match the setting on frps

transport.poolCount = 5

[[proxies]]
name = "app-name" # Application name
type = "tcp"
remotePort = xx # Public access port number
localIP = "127.0.0.1"
localPort = xx # Internal port number
Finally, run the docker compose up -d command in the same directory as compose.yaml to start the orchestrated container.
Configuration Instructions
Make sure the toml file format is correct, otherwise the service will not start properly. You can use an online Toml editor and validator to check.
References and Acknowledgments
- GitHub repo · fatedier/frp
- GitHub repo · snowdreamtech/frps
- GitHub repo · stilleshan/frpc
- Docker Hub · snowdreamtech/frps
- Docker Hub · stilleshan/frpc
- How to achieve external network RDP remote control (frp)
- Accessing Synology NAS using frp
عنوان النص: https://wiki-power.com/
يتم حماية هذا المقال بموجب اتفاقية CC BY-NC-SA 4.0، يُرجى ذكر المصدر عند إعادة النشر.تمت ترجمة هذه المشاركة باستخدام ChatGPT، يرجى تزويدنا بتعليقاتكم إذا كانت هناك أي حذف أو إهمال.