Homelab - 智能家居服务器 Home Assistant
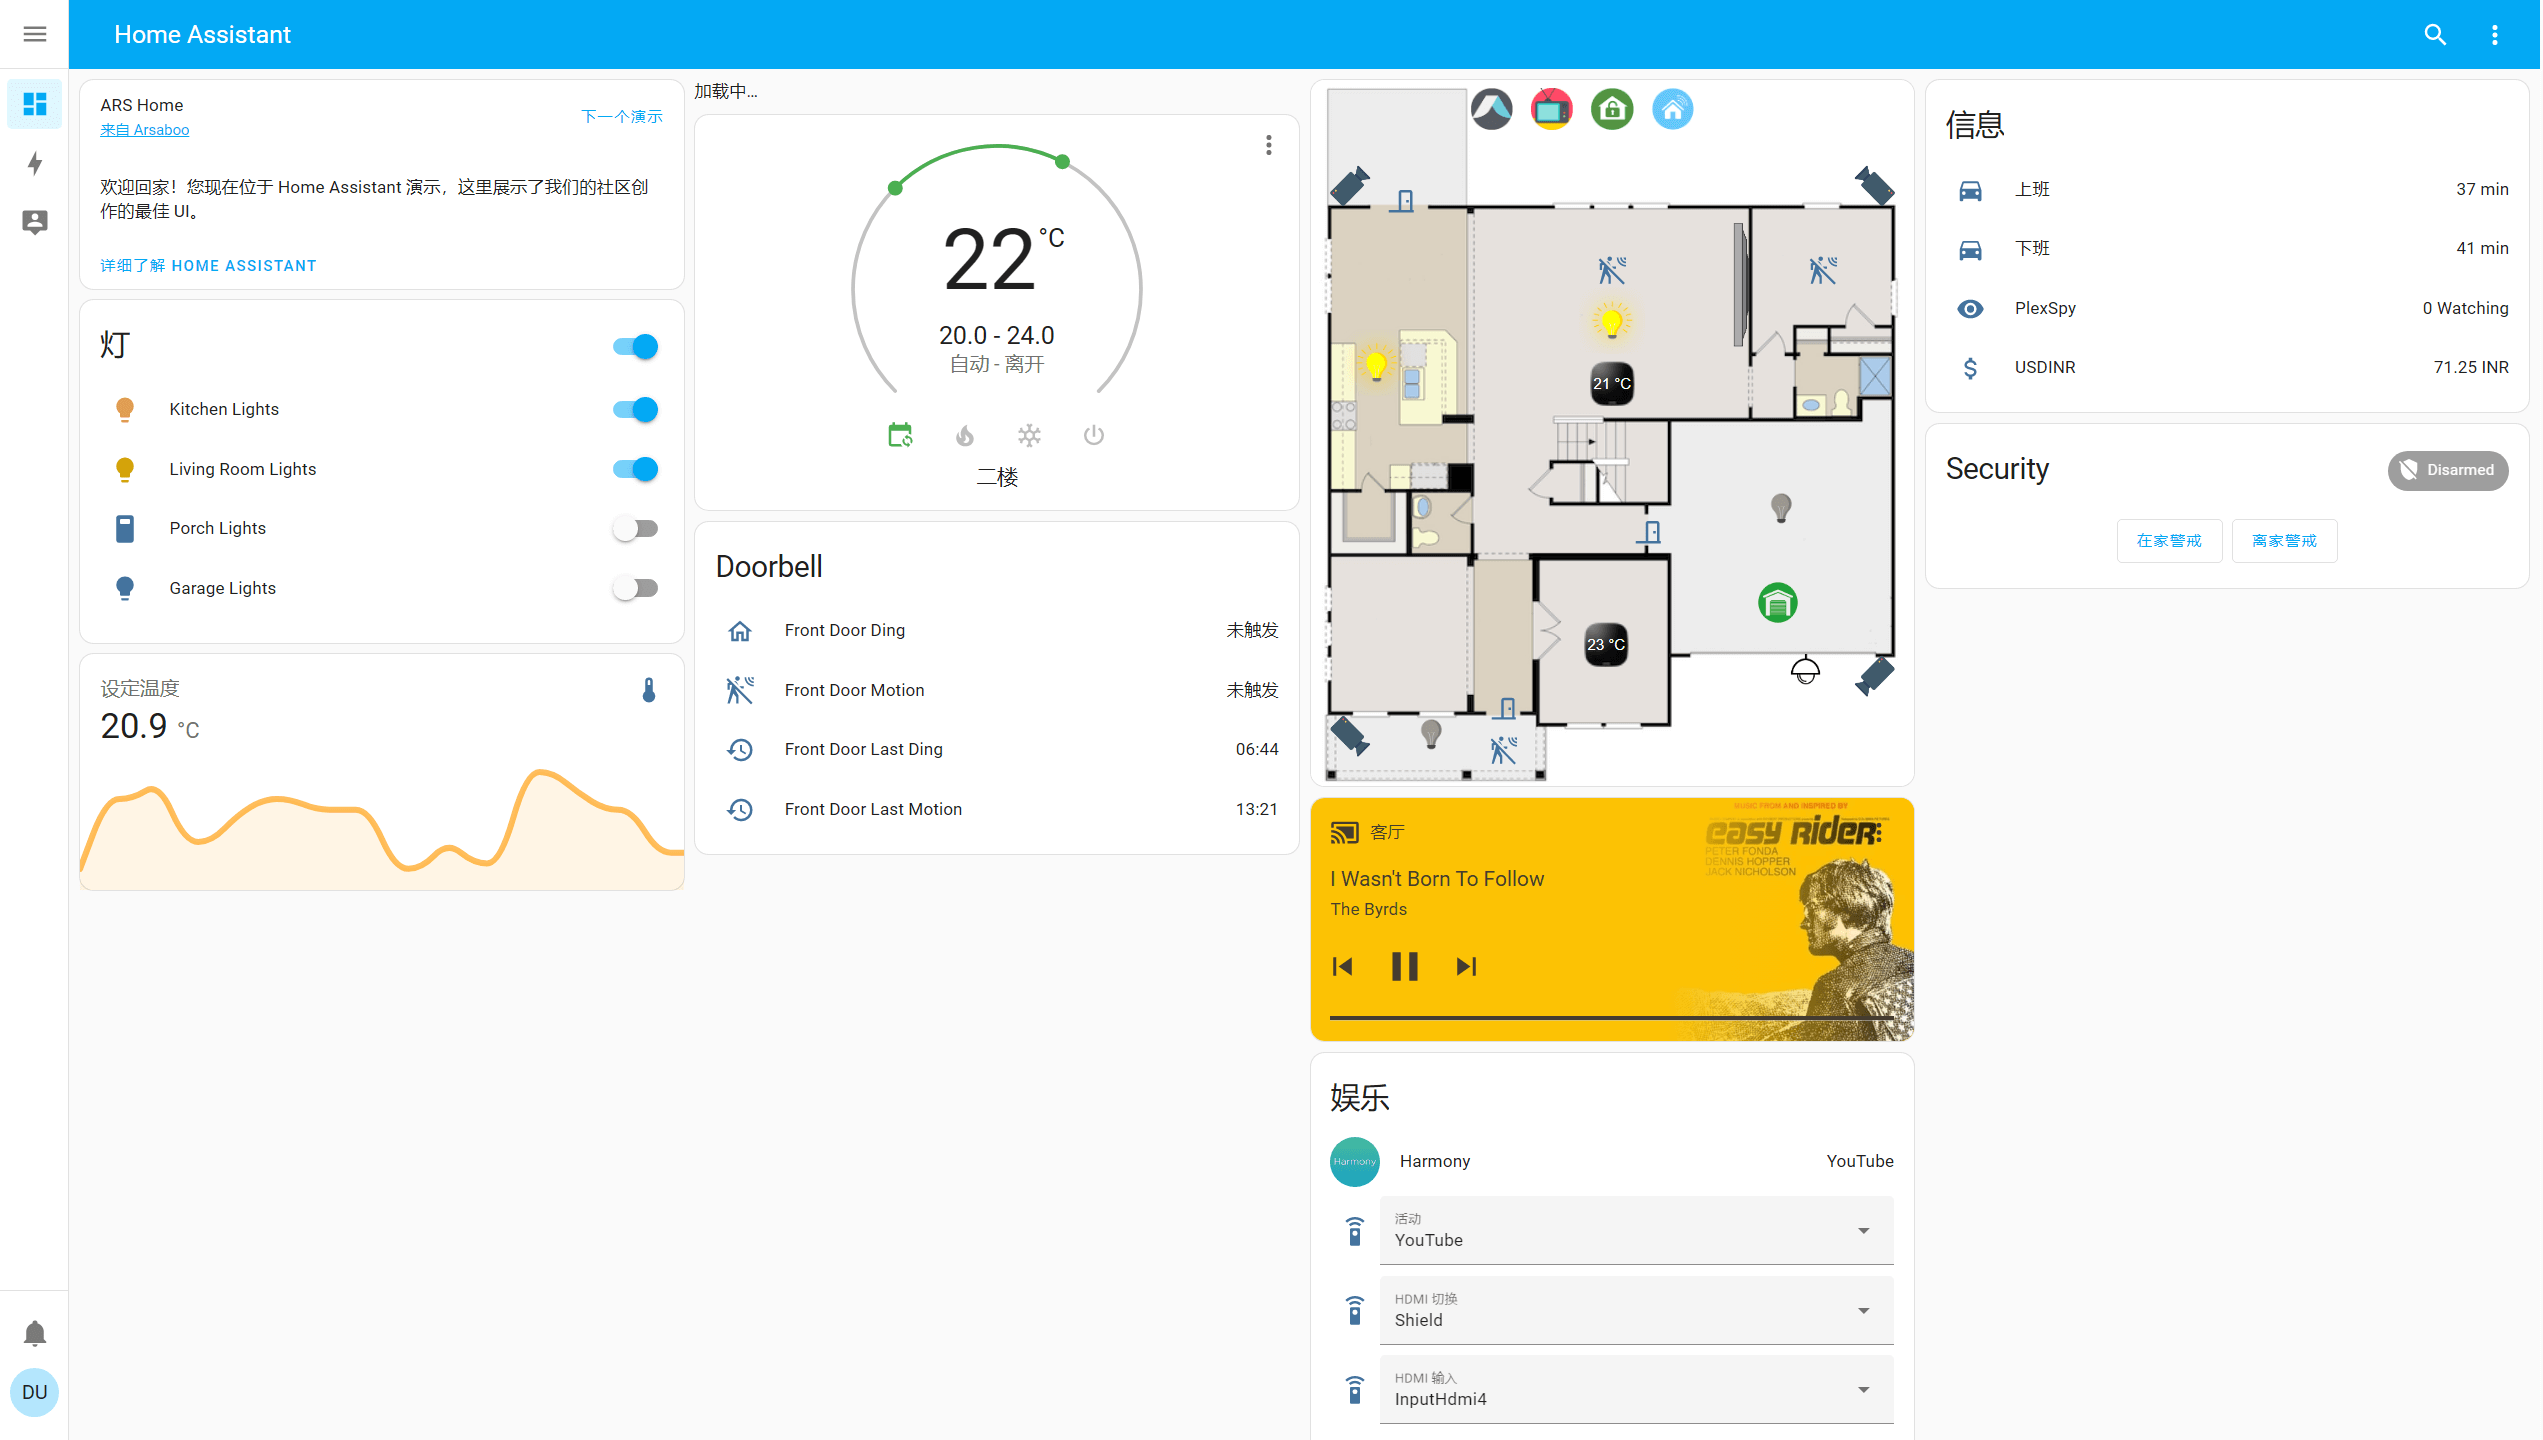
Home Assistant 是一个开源的智能家居服务器,能够监控家里的所有设备,功能类似米家,界面友好美观,部署也相对简单。
部署(Docker Compose)
首先创建 compose.yaml 文件,并粘贴以下内容:
compose.yaml
version: "3"
services:
  homeassistant:
    container_name: ${STACK_NAME}_app
    image: ghcr.io/home-assistant/home-assistant:${APP_VERSION}
    ports:
      - ${APP_PORT}:8123
    volumes:
      - ${STACK_DIR}:/config
      - /etc/localtime:/etc/localtime:ro
    privileged: true
    #network_mode: host
    restart: unless-stopped
(可选)推荐在 compose.yaml 同级目录下创建 .env 文件,并自定义你的环境变量。如果不想使用环境变量的方式,也可以直接在 compose.yaml 内自定义你的参数(比如把 ${STACK_NAME} 替换为 audiobookshelf)。
.env
STACK_NAME=homeassistant
STACK_DIR=xxx # 自定义项目储存路径,例如 ./homeassistant

# homeassistant
APP_VERSION=latest
APP_PORT=xxxx # 自定义访问端口,选择不被占用的即可
最后,在 compose.yaml 同级目录下执行 docker compose up -d 命令即可启动编排的容器。
配置说明
移动端可直接使用官方的 Home Assistant App。
如果你通过外网访问时提示 400 Bad Request,你可以在配置文件 configuration.yaml 中加入以下语句:
http:
  use_x_forwarded_for: true
  trusted_proxies:
    - 10.0.0.200 # 代理服务器的 IP 地址
    - 172.30.33.0/24 # 也可也提供带掩码的 IP 地址
如果你不知道代理服务器的 IP 地址,可以试着从外网访问 Home Assistant,从 log 中的 error 信息就能看到了。
参考与致谢
原文地址:https://wiki-power.com/
本篇文章受 CC BY-NC-SA 4.0 协议保护,转载请注明出处。